
How to Make DIY Christmas Candle Jar at Home: Step-by-Step Guide
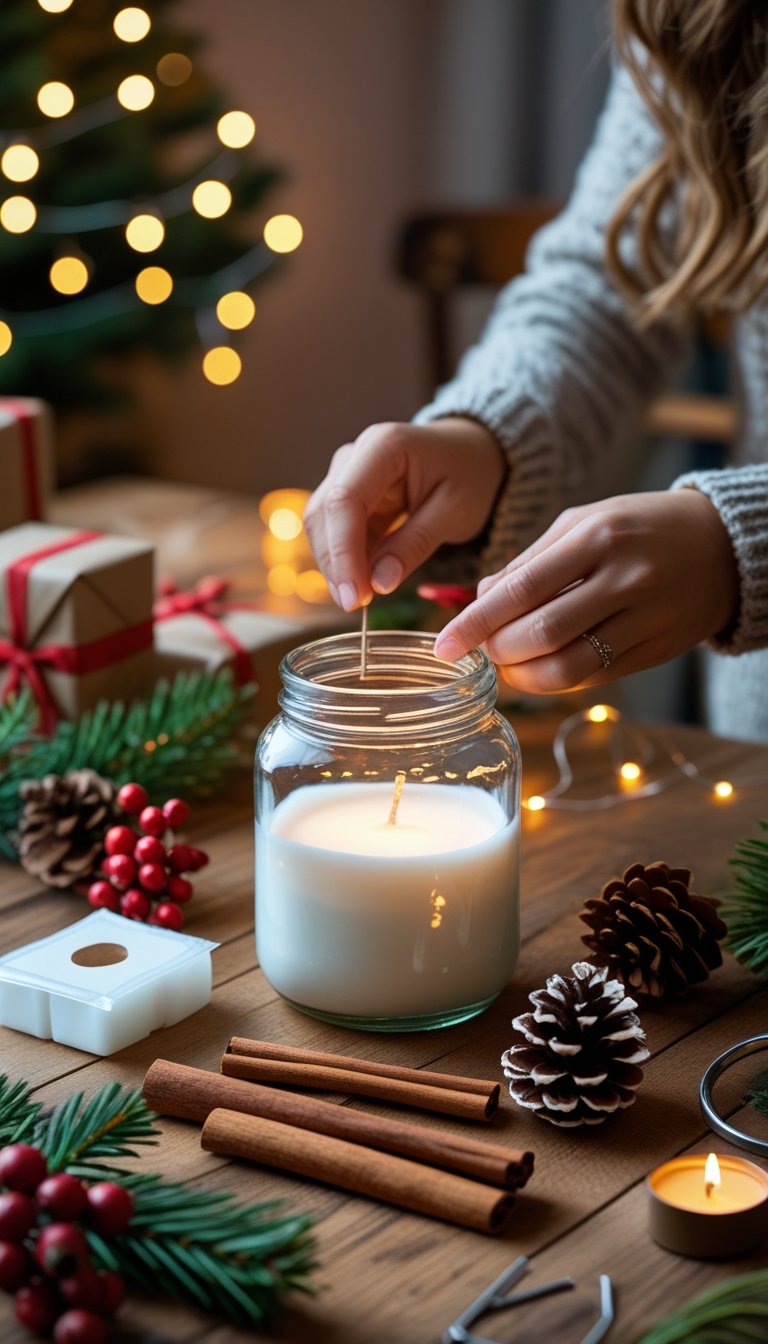
You can make a DIY Christmas candle jar at home with a clean glass jar, wax, a wick, and simple holiday decorations. Melt the wax, secure the wick in the center of the jar, pour the wax carefully, and let it set before adding festive details like twine, greenery, or dried fruit. This simple process gives you a custom holiday decoration you can use or gift.
When you understand the right materials and tools, you avoid common mistakes like uneven wicks or cracked jars. You will see how to prepare your jar, assemble the candle safely, and choose designs that match your holiday style.
You will also learn how to personalize your candle jars, display them safely in your home, and store or gift them with care. With the right steps, you create a clean, polished result that looks thoughtful and well made.
Essential Materials and Tools
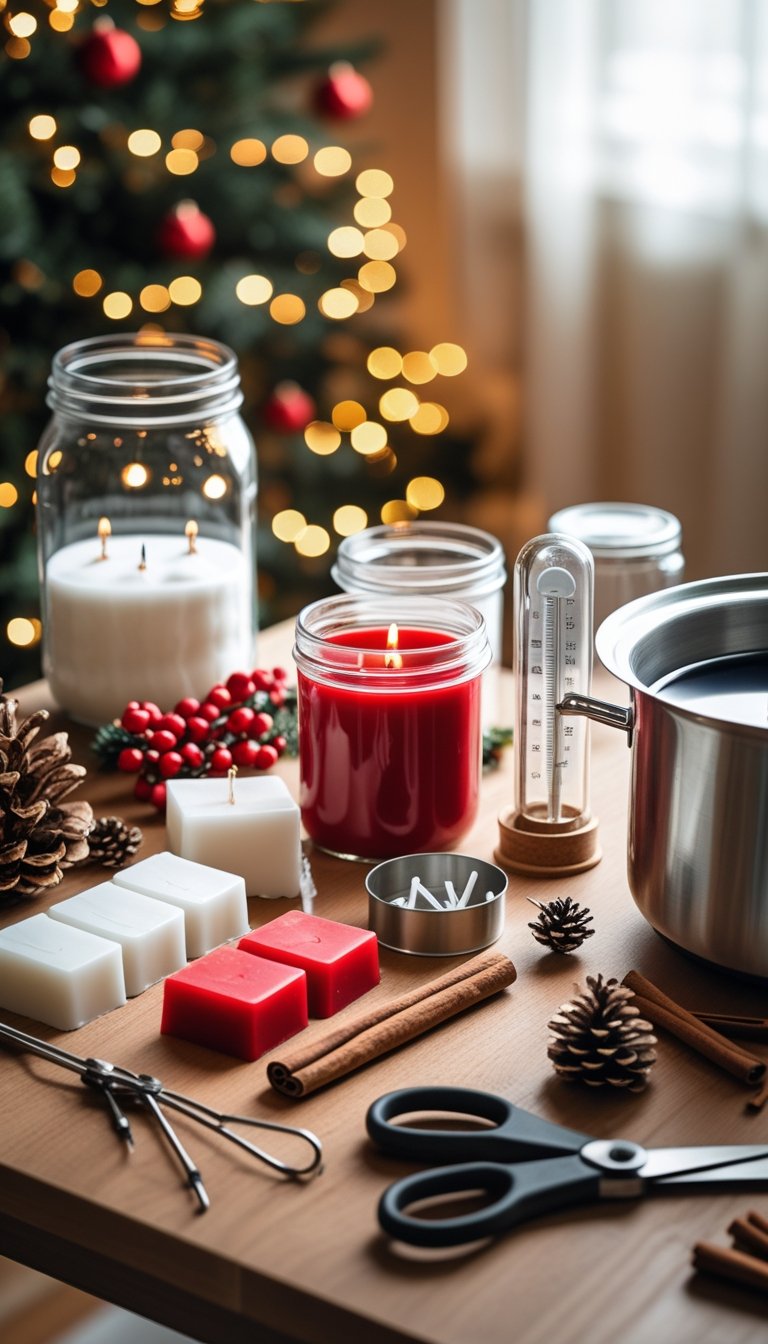
You need the right jar, candle, decorations, and safety items to build a stable and attractive Christmas candle jar. Each part affects how the candle looks, burns, and performs during the holiday season.
Choosing the Right Jar
Start with a thick glass jar that can handle heat. A mason jar candle holder works well because it uses tempered glass and a wide base that stays stable on tables and mantels.
Choose jars with straight sides. This shape helps the candle burn evenly and makes decorating easier.
Standard sizes include:
- 4 oz for small accents
- 8 oz for table centerpieces
- 16 oz for larger displays
Avoid thin glass or jars with cracks. Heat can cause weak glass to break.
If you want step‑by‑step guidance for turning jars into candles, review this guide on how to make mason jar candles. It explains jar prep and wick placement clearly.
You can also reuse clean food jars for simple jar crafts, but check that the glass feels thick and sturdy. Always wash and dry the jar fully before use.
Candle Selection and Types
You can either pour wax directly into the jar or place a ready‑made candle inside it. Both methods work for a Christmas design.
If you plan to pour wax, soy wax is a common choice. It burns clean and works well in mason jar crafts. You will need:
- Soy, beeswax, or paraffin wax
- Cotton or wooden wicks
- Fragrance oil (optional)
Keep fragrance load below 10% of the wax weight. Too much oil can affect burn quality.
If you prefer a simpler option, place a pillar candle, tealight, or battery operated votive inside the jar candle holder. Battery operated votives reduce fire risk and work well in homes with pets or children.
For a full wax‑pour method, you can follow detailed steps in this DIY mason jar candles tutorial. It outlines melting, pouring, and cooling basics.
Decoration Accessories
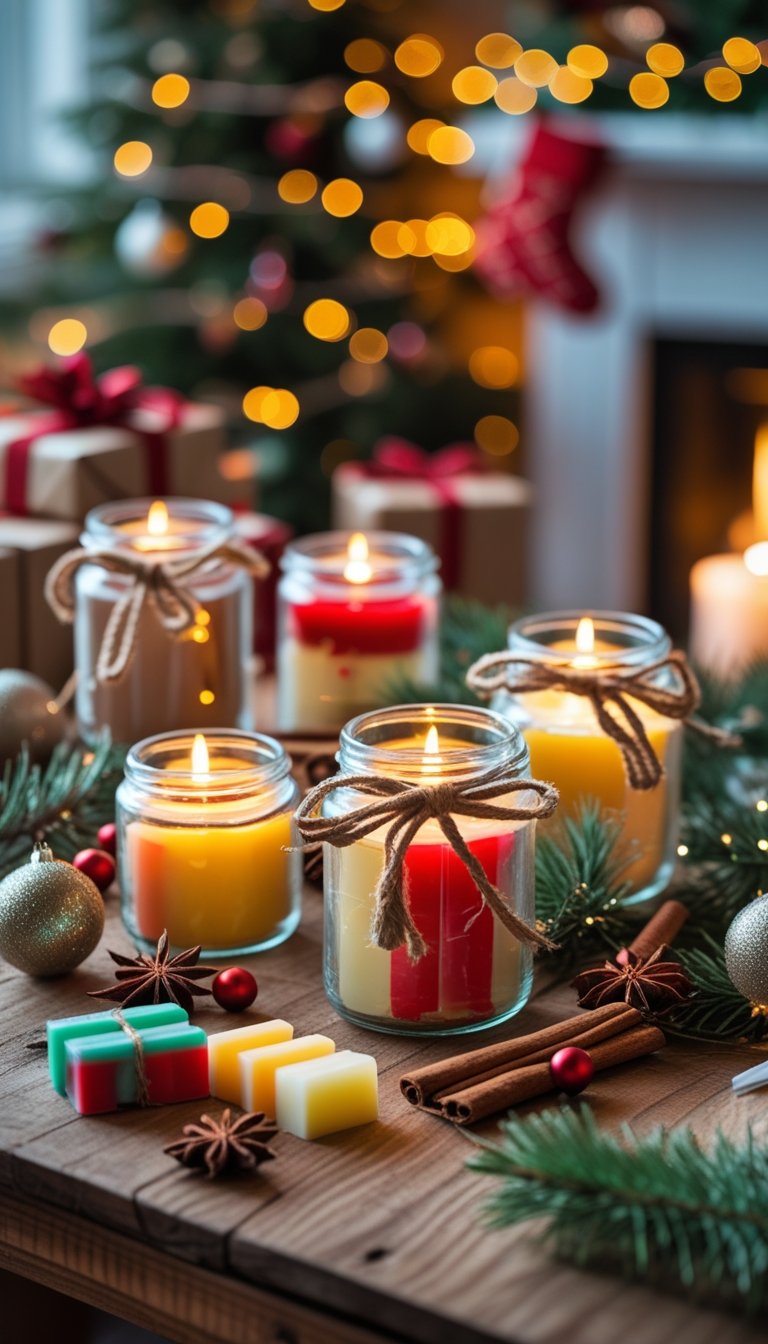
Christmas candle jars stand out because of layered decoration. Focus on items that handle heat and stay outside the direct flame area.
Common decoration materials include:
- Burlap or ribbon
- Twine for a rustic mason jar craft look
- Small pinecones
- Faux berries
- Artificial greenery
- Adhesive vinyl or stencils
Wrap twine or ribbon around the outside of the jar only. Keep all fabric and greenery below the rim so it does not reach the flame.
If you want a seasonal design idea, review these DIY Christmas candle ideas to see safe ways to combine jars, greenery, and holiday accents.
Avoid placing dried herbs or loose pine needles inside the wax. These materials can burn.
Safety Supplies
You must treat any jar candle holder as an open flame device unless you use a battery operated votive. Fire safety matters during holiday gatherings.
Keep these items nearby:
- Heat‑resistant surface or tray
- Wick trimmer or small scissors
- Long lighter or match
- Fire extinguisher
Trim the wick to ¼ inch before each burn. This reduces soot and uneven flames.
Place your mason jar candle holder at least 12 inches away from curtains, paper décor, and tree branches. Never leave it unattended.
If you want a zero‑flame option, use battery operated votives. They give a warm glow without heat, which makes them ideal for crowded tables and family events.
Preparing Your Jar for Decorating
You need a clean, smooth surface before you add paint, glue, or holiday details. Dirt, oil, and rough spots will ruin the look and keep decorations from sticking well.
Cleaning and Drying
Start by removing labels and glue from the jar. Soak the jar in warm water with dish soap for 10–15 minutes, then peel the label off. Scrub off leftover adhesive with a sponge or a small amount of baking soda.
Wash the entire jar with warm, soapy water. Focus on the rim and inside edge where dust collects.
Rinse well so no soap film stays behind. Even a thin layer can prevent paint or glue from bonding.
Dry the jar with a lint-free towel. Then let it air dry for at least 30 minutes.
Moisture trapped inside a painted mason jar can cause bubbles or peeling later.
If you plan to place wax inside, make sure the jar is fully dry. Water and hot wax do not mix and can cause splattering.
Surface Preparation Tips
Inspect the glass under bright light. Look for cracks, chips, or deep scratches. Do not use damaged jars for candles because heat can weaken the glass.
Wipe the outside with rubbing alcohol on a cotton pad. This removes oil from your hands and helps paint stick better.
If you plan to create a painted mason jar with acrylic or chalk paint, lightly sand the surface with fine-grit sandpaper (around 220 grit).
Use gentle pressure. You only need to dull the shine, not scratch the glass.
After sanding, wipe the jar again with alcohol to remove dust.
For painted designs, apply a thin base coat first. Thin layers dry faster and reduce drips. Let each coat dry fully before adding another layer or attaching holiday decorations like twine, ribbon, or stickers.
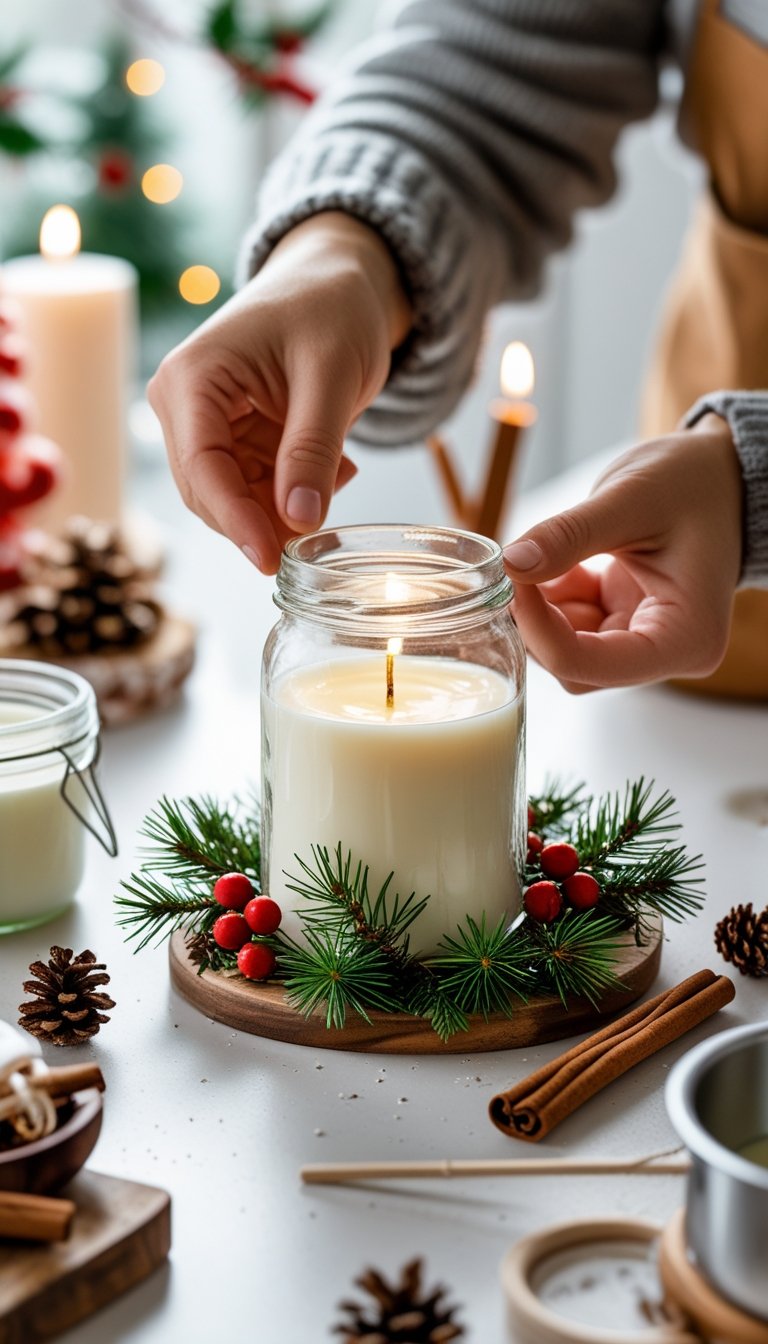
DIY Christmas Candle Jar Assembly
Assemble your jar with care so it looks clean, balanced, and safe to use with a real or LED candle. Focus on neat layers, secure attachments, and simple details that fit your holiday decorations.
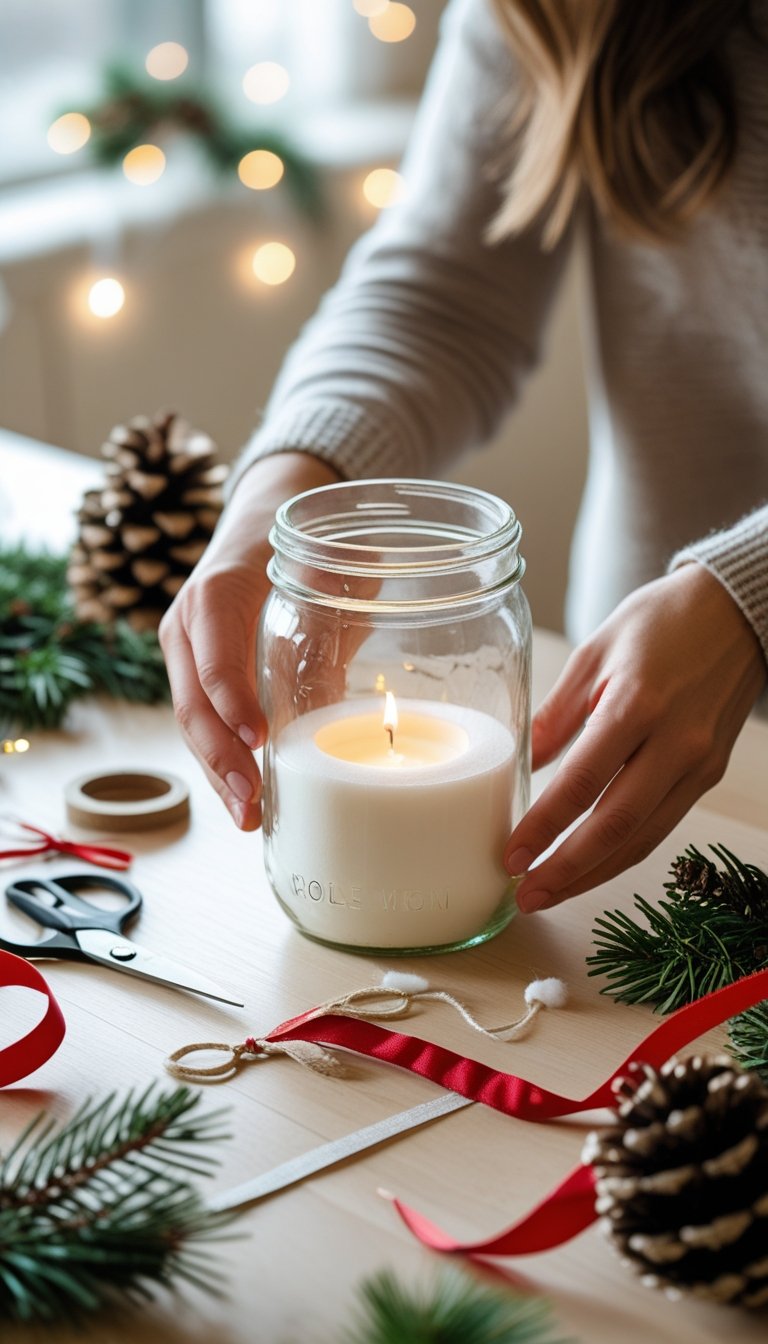
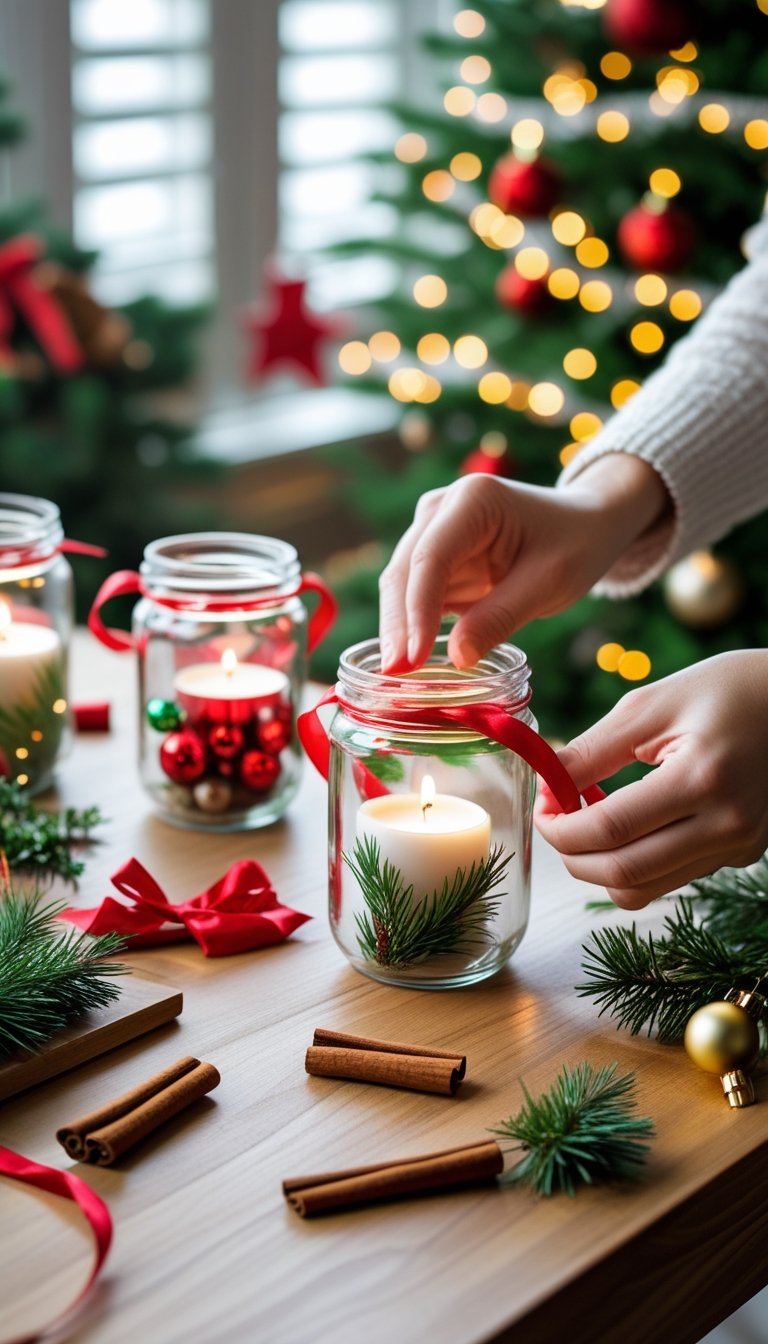
Applying Decorative Elements
Start with a clean, dry jar. Wipe the outside with rubbing alcohol so glue and paint stick well.
Wrap twine, ribbon, or thin wire around the neck of the jar. Keep the wrap tight and even. Tie a firm knot at the back so the front stays neat.
If you want a rustic look, add a small tag or charm to the front. Many holiday craft ideas, like these rustic DIY candle jars for Christmas, use simple wire and greenery for a clean finish. You can follow the same method and adjust the colors to match your space.
Keep decorations above the jar’s widest point. This prevents items from blocking the candlelight and keeps heat away from flammable materials.
Use this quick guide:
- Hot glue: best for heavy items like wood shapes
- Craft glue: good for paper tags and light ribbon
- Wire: safest for greenery and reusable designs
Work in small sections so glue does not dry before you secure each piece.
Creating Snowy and Frosted Effects
To make a snowy mason jar, apply a thin, even coat of white craft glue to the outside. Do not coat the rim where you may touch the jar.
Roll the jar in Epsom salt or fine glitter to create a snow texture. Tap off extra material and let it dry fully before adding a candle. Many crafters use this method for DIY snowy mason jar luminaries, which gives a soft winter look without complex tools.
For a frosted finish, use frosted glass spray paint. Spray in light coats from about 8–12 inches away. Let each coat dry before adding another. This creates an even, cloudy surface that glows when lit.
If you want patterns, place painter’s tape in stripes or shapes before spraying. Remove the tape once the paint dries to reveal clear glass underneath.
Always work in a well‑ventilated area and allow full drying time before placing a flame inside.
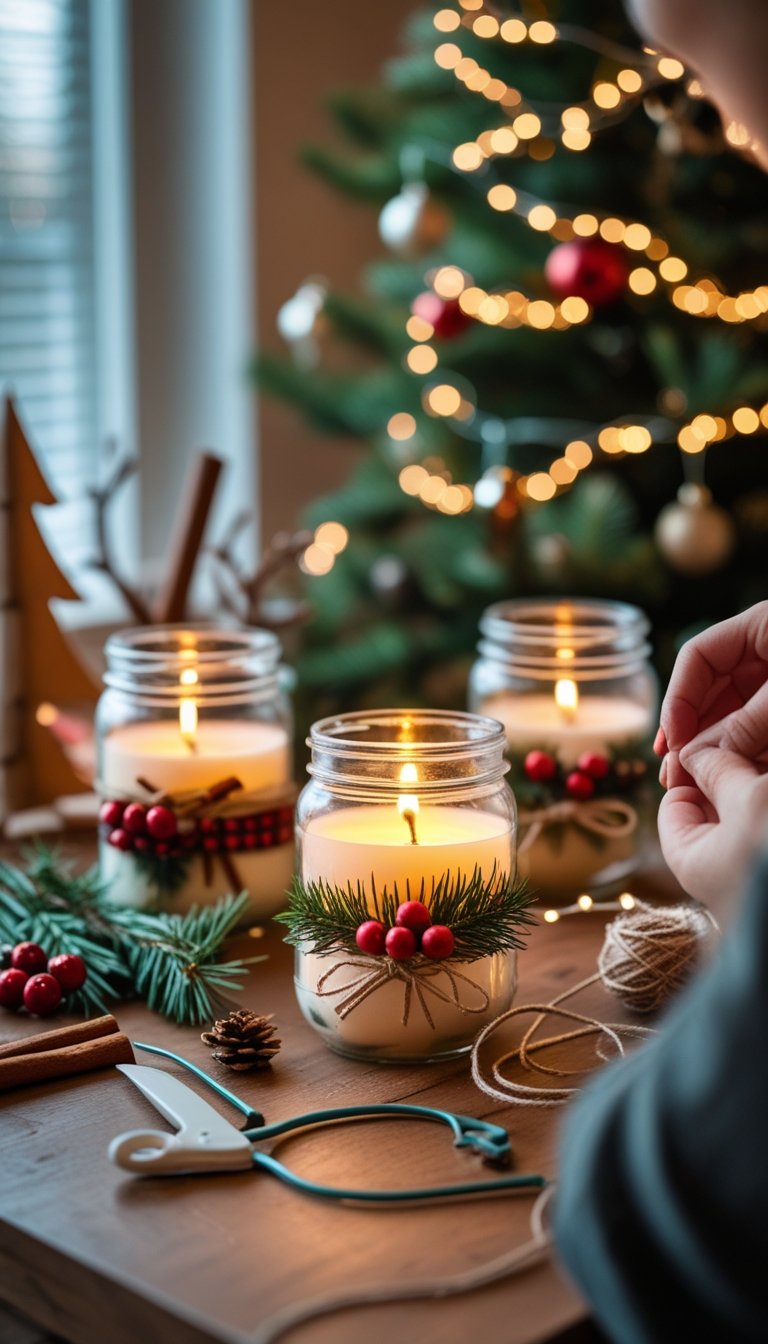
Securing Greenery and Embellishments
Use fresh or faux greenery in small sprigs. Cut pieces to 2–3 inches long so they sit flat against the jar.
Attach greenery with floral wire instead of glue when possible. Wrap the wire around the jar’s neck, tuck the stems under the wire, and twist it tight at the back. This method keeps the design secure and easy to adjust.
If you add embellishments such as bells, beads, or cinnamon sticks, attach them to the wire base instead of gluing them directly to the glass. This reduces the risk of pieces falling off from heat exposure.
Follow these safety points:
- Keep all greenery above the jar opening
- Do not let leaves hang inside the jar
- Use LED tealights if decorations sit close to the rim
When you secure each item firmly and keep space around the flame, your holiday decorations will look polished and remain safe to use throughout the season.
Creative Christmas Candle Jar Designs
You can shape your candle jars to match classic holiday colors, fun characters, or clean modern decor. Focus on color, texture, and simple details that fit your space and style.
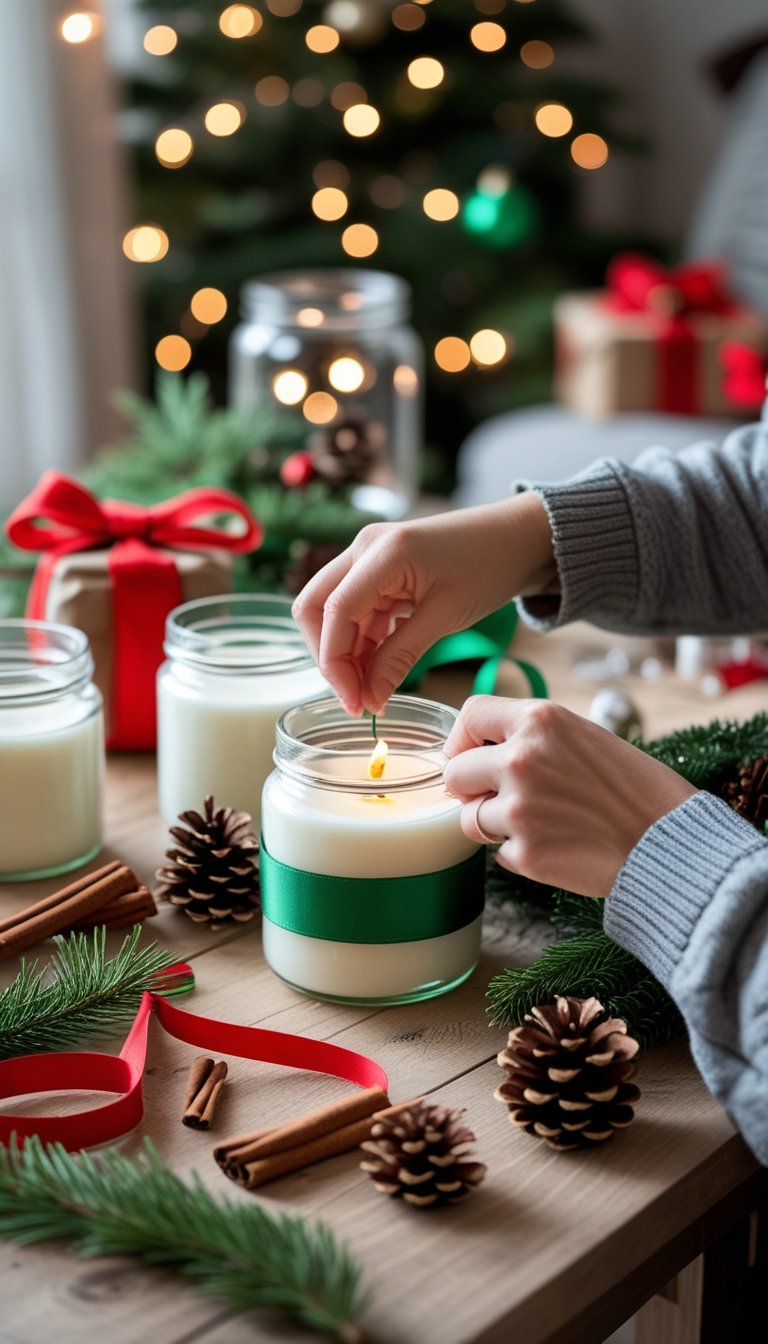
Classic Festive Styles
Classic designs use red, green, gold, and white. You can turn simple mason jar candle holders into warm holiday accents with ribbon, greenery, and small ornaments.
Wrap plaid or velvet ribbon around the rim. Tie it tight and secure it with hot glue. Add a small pinecone or faux holly for texture.
For a rustic look, wrap twine around the center of the jar. Tuck in a sprig of evergreen. This works well with pillar candles or tea lights.
You can also paint the outside of the jar with acrylic paint made for glass. Clean the jar first and let it dry fully. Frosted white paint creates a soft glow when the candle burns inside.
For more festive inspiration, review these ideas from Christmas Mason jar crafts you can make today and adapt the details to fit your candle project.
Simple Add-Ons for Classic Style:
- Plaid ribbon
- Jute or twine
- Faux berries
- Small ornaments
- Gold or silver paint accents
Keep the design balanced. Do not overload the jar with decorations.
Themed Character Jars
Character jars add a playful touch to your Christmas decor. You can turn a jar into Santa, a snowman, or a reindeer using paint and basic craft supplies.
For a Santa jar, paint the outside red. Add a black strip around the middle for a belt and glue on a small buckle shape. Place a white candle inside to reflect light through the paint.
To make a snowman, paint the jar white. Draw eyes, a carrot nose, and buttons with paint markers. Wrap a small scarf around the neck of the jar.
You can also create a Christmas sweater mason jar by sliding a sweater sleeve over the glass. Fold the edge under and glue it in place. Add small buttons or tiny jingle bells for detail.
If you want more playful ideas, browse these festive DIY Mason jar Christmas decorations and adjust them for candle use.
Keep flames in mind. Avoid placing fabric or paper inside the jar near the wick.
Modern and Minimalist Looks
Modern jars use simple colors and clean lines. You can create a calm look with white, gray, black, or metallic finishes.
Spray-paint the outside of the jar matte white or soft gray. Let it dry fully before adding a candle. A single strip of thin black ribbon around the rim adds contrast without clutter.
You can also wrap neutral twine around the base and leave the rest of the glass clear. This style works well in farmhouse or Scandinavian spaces.
For a sleek look, use clear jars with white wax candles and no extra decor. Line several jars in a row to create a simple centerpiece.
Minimal designs still count as a mason jar Christmas craft. They just rely on shape, spacing, and soft candlelight instead of heavy decoration.
Focus on neat edges and even spacing. Clean glass and straight lines make the biggest impact.
Personalizing Your Candle Jars
You can turn a simple jar into a clear holiday statement with the right colors, patterns, and words. Small design choices make your candle feel planned and personal instead of plain.
Customizing with Colors and Patterns
Start with a clear theme. Choose two or three Christmas colors such as red and white, green and gold, or blue and silver.
If you want a soft glow, paint the outside of the jar with acrylic paint mixed with a little water. This creates a frosted look. A painted mason jar in matte white or pale green gives a clean winter style and lets the flame shine through.
Use simple tools for patterns:
- Stencil designs like snowflakes or trees
- Painter’s tape for stripes or blocks
- Sponge dabbing for a snowy texture
- Glitter with Mod Podge for sparkle
Wrap ribbon, twine, or burlap around the neck of the jar for contrast. You can also glue small pinecones or faux berries near the rim.
Do not forget the top. Turn a spare lid into a mason jar lid ornament by painting it and adding a small bow. This small detail ties the whole design together.
Adding Names and Messages
Names and short messages make your candle feel like a gift, even if you keep it for yourself. Keep the wording simple and easy to read.
You can write directly on the glass with:
- Oil-based paint markers
- Vinyl lettering cut with a machine
- Adhesive stencils and acrylic paint
Print words like “Merry Christmas,” “Joy,” or a family name in white or gold. Place the text in the center of the jar so it stays visible when the candle burns down.
If you want a cleaner look, follow ideas from these DIY Christmas stencil candle jars. Stencils help you keep letters straight and sharp.
You can also tie a kraft tag around the neck and write a short message by hand. This works well if you plan to reuse the jar later.
Displaying and Using DIY Candle Jars
Place your candle jars where people gather and where light adds comfort. Use them to shape the mood of your table, mantel, entry, and windows with simple and safe setups.
Centerpieces and Table Decor
Set a mason jar centerpiece in the middle of your dining table to anchor your Christmas table decor. Use one large jar or group three jars at different heights for balance.
Add fresh greenery, cranberries, or pinecones around the base. Keep the area clear so guests can pass food without knocking anything over.
You can also turn your jar into a winter scene. Follow ideas from these DIY Snowy Mason Jars to create a frosted look with epsom salt and place a tealight inside. The soft glow works well for dinner.
If you want more detail, build a mason jar snow globe style display. Glue a small tree or figure to the lid, add fake snow, and seal it tight. Line up several mason jar snow globes down the center of a long table for a clean and simple look.
Keep in mind:
- Use unscented candles for dining tables.
- Keep flames at least 12 inches from greenery.
- Place jars on a tray to protect the table surface.
Mantel and Entryway Arrangements
Use candle jars to frame your mantel or welcome guests at the entry table. Place jars at both ends of the mantel to create balance.
Mix candle jars with garland and stockings. Choose jars with white or clear wax for a clean look.
For a rustic feel, try ideas inspired by Rustic DIY Candle Jars for a Cozy Christmas Glow. Wrap twine around the rim and attach a small tag with a short holiday message. This small detail adds texture without clutter.
In your entryway, set two jars on a console table with a bowl for keys in between. Keep the space simple so guests can move freely.
Safety tips:
- Keep jars away from hanging fabric.
- Trim wicks to 1/4 inch before lighting.
- Never leave candles burning near the front door unattended.
Outdoor and Window Displays
Place candle jars in windows to create a warm glow from outside. Line up matching jars along the sill for a neat look.
If you use real flames, keep them away from curtains and blinds. For outdoor steps or a porch, switch to battery tea lights to reduce fire risk.
You can adapt ideas from these DIY Christmas jars ideas by adding ornaments or small LED lights inside the jar. This works well for covered patios.
For walkways, space jars evenly along the path. Use heavy jars or add sand at the bottom so wind does not tip them over.
Best practices for outdoor use:
- Choose thick glass jars.
- Avoid placing jars where rain can collect inside.
- Bring jars indoors after use to prevent cracking in freezing weather.
Gifting and Storing Your Candle Jars
Thoughtful packaging makes your candle feel complete and ready to give. Proper storage keeps the wax smooth, the scent fresh, and the jar safe to reuse next year.
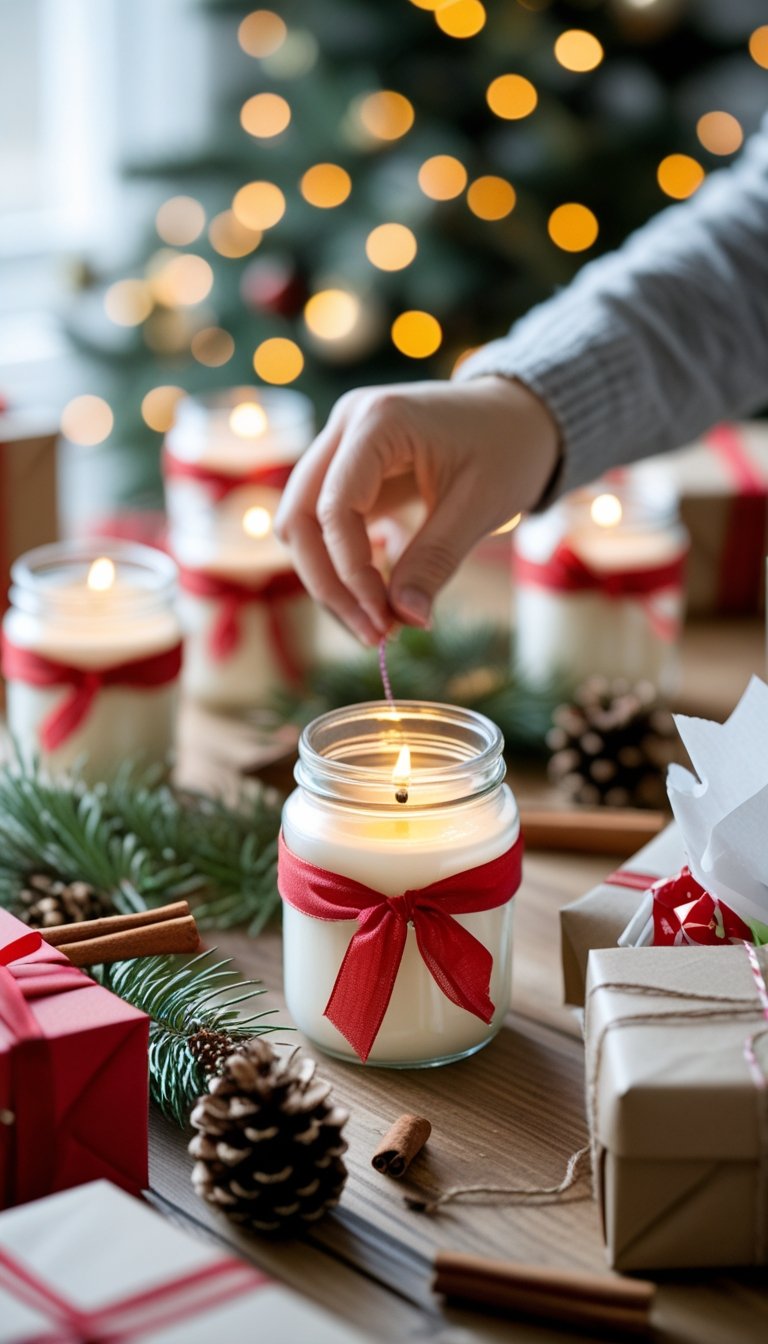
Packaging for Gifts
Start with a clean jar and wipe away any wax drips. Trim the wick to about ¼ inch so the candle looks neat and ready to light.
Wrap the lid with fabric, kraft paper, or plaid ribbon. Tie it tight with twine or jute string for a simple holiday look.
If you made a snowman jar, let the painted face dry fully before wrapping. Avoid tape on painted areas so you do not peel off the design.
Add a small tag with clear details:
- Scent name
- Burn time
- Safety note: “Trim wick before each use.”
For a polished gift, place the jar in a small box with tissue paper. You can also follow ideas from these DIY Mason jar candle holders for Christmas gifts to dress up the outside with seasonal details.
Keep decorations away from the flame area. Never glue items near the jar opening where heat builds up.
Safe Storage Tips
Store your candle jars in a cool, dry place. Heat can soften wax and cause uneven surfaces.
Keep jars out of direct sunlight. Sunlight can fade color and weaken scent over time.
If you stack jars, place a sheet of paper or cloth between them. This step prevents scratches and protects painted designs, especially on themed jars like a snowman jar.
Follow these simple rules:
- Temperature: 60–75°F is ideal
- Lid: Keep it sealed to protect fragrance
- Surface: Store upright on a flat shelf
Mason jars last for many years when handled with care, as noted in these Christmas Mason jar crafts.
Before gifting a stored candle, check for cracks, loose wicks, or dust. Wipe the jar clean so it looks fresh and safe to use.
Frequently Asked Questions
You need the right supplies, safe melting steps, correct fragrance timing, and proper curing to make a candle that burns clean and smells balanced. Small details like wick size and jar decorations affect both safety and performance.
What materials and tools are needed to make a holiday-themed candle in a jar?
You need wax, mason jars, wicks, and fragrance oil. Many people use soy wax because it is easy to work with and burns clean. This guide on how to make mason jar candles lists common basic supplies.
You also need a double boiler or wax melter, a thermometer, wick stickers or hot glue, and a wick holder or clothespin. Keep scissors nearby to trim the wick.
For a holiday look, gather twine, ribbon, gift tags, or small pinecones. If you want more inspiration, you can review ideas for rustic DIY candle jars for Christmas.
Which wax type works best for jar candles, and how do you choose the right wick size?
Soy wax works well for jar candles because it melts at a lower temperature and cleans up easily. Beeswax burns longer and has a natural scent. Paraffin holds fragrance well but is petroleum based.
Choose a wick size based on the jar’s diameter. A jar that is 2 to 3 inches wide often needs a small to medium cotton wick. If the wick is too small, the candle will tunnel. If it is too large, the flame may burn too hot.
Always check the wick chart from the wick manufacturer. Testing one candle before making a full batch helps you avoid waste.
How do you safely melt and pour candle wax at home without overheating or cracking the jar?
Use a double boiler to melt wax slowly. Do not place wax directly over high heat. Keep the temperature within the wax maker’s recommended range, often between 170°F and 185°F for soy wax.
Use a thermometer and stir gently as the wax melts. Remove it from heat once fully liquid.
Warm your jars slightly at room temperature before pouring. Avoid pouring very hot wax into a cold jar, as sudden temperature changes can crack the glass. Leave about 1 inch of space at the top.
When and how should fragrance oils be added to get a strong, balanced scent throw?
Add fragrance oil after the wax fully melts and reaches the correct temperature. For soy wax, this is often around 170°F to 180°F, but follow the wax instructions.
Stir the fragrance in for at least 30 seconds to ensure even mixing. Do not exceed about 10% fragrance load unless the wax allows it.
If you want a simple beginner method, this tutorial on handmade Christmas candles using recycled jars shows how to add scent during the melting stage.
How can you decorate a candle jar with festive elements without creating a fire hazard?
Keep decorations on the outside of the jar. Wrap twine, ribbon, or fabric around the glass, not near the flame.
Avoid placing dried flowers, herbs, or pine needles inside the wax near the wick. These items can catch fire if the flame reaches them.
If you add paint or vinyl designs, apply them to the outer surface only. Designs like these appear in projects such as Christmas mason jar candles with a Cricut machine.
What curing time is recommended before burning a freshly poured jar candle for the best performance?
Let your candle cool and harden for several hours before moving it. Then allow it to cure for at least 24 hours before the first burn.
Some soy candles perform better after 3 to 7 days of curing. This extra time helps the fragrance bind with the wax.
Before lighting, trim the wick to about 1/4 inch. Let the first burn last long enough for the melted wax to reach the edges of the jar. This step reduces tunneling and improves future burns.