
How to Make DIY Holiday Lantern Jar at Home: Step-by-Step Guide
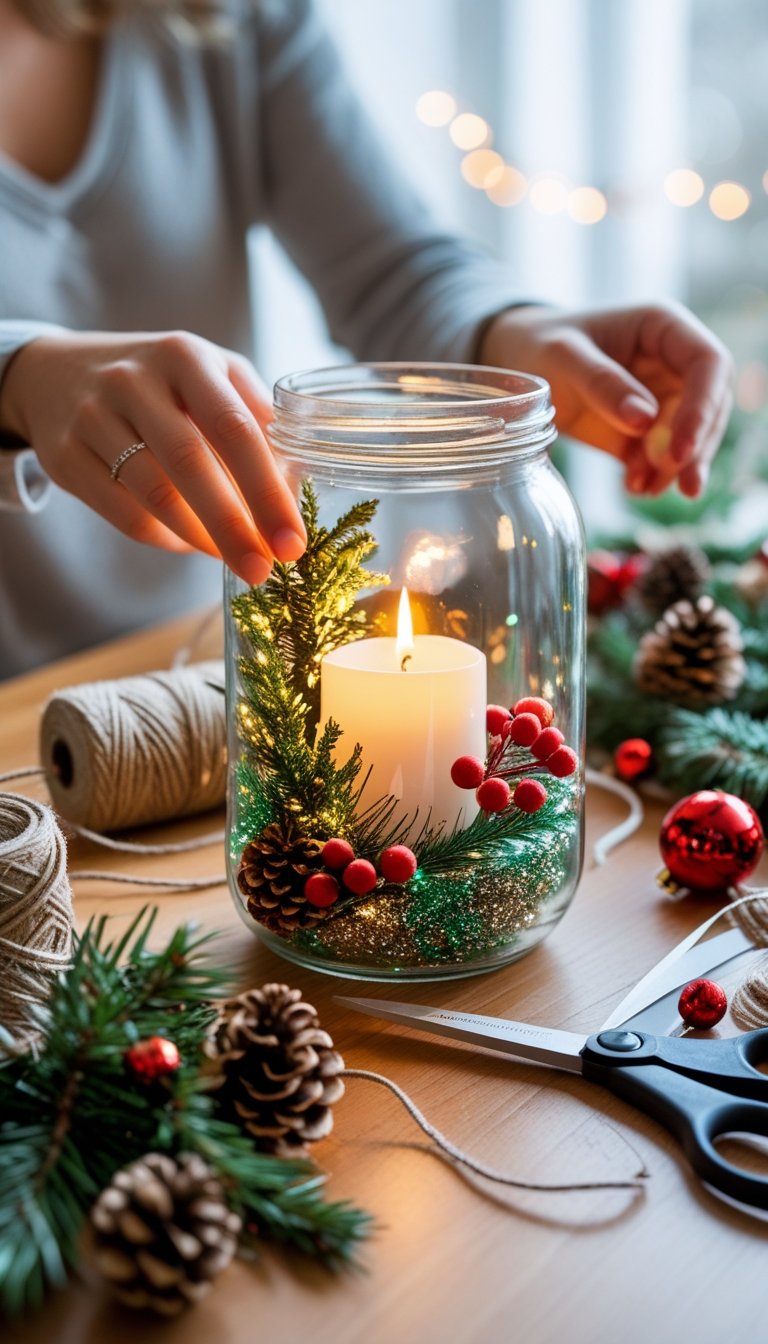
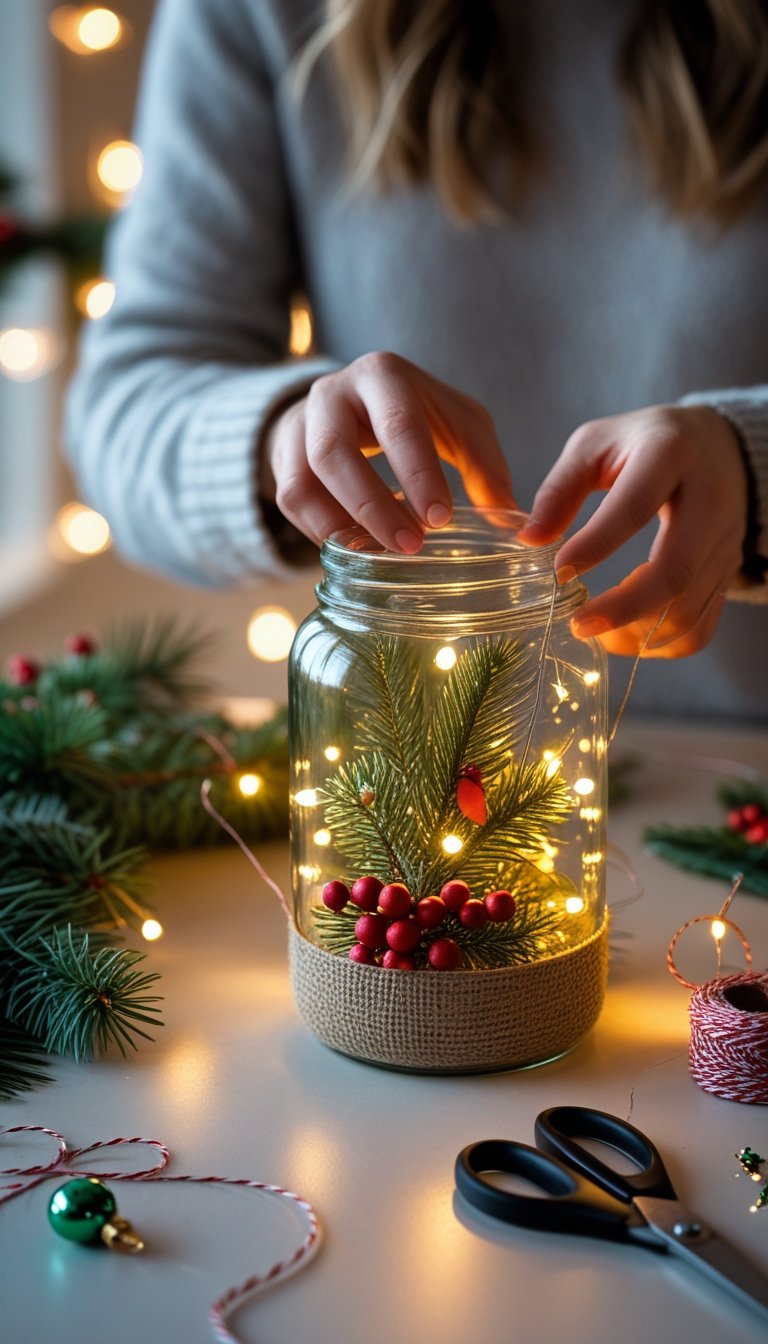
You can turn a simple glass jar into a holiday lantern that adds soft light and seasonal style to your home. To make a DIY holiday lantern jar at home, clean a glass jar, decorate it with paint or festive accents, place an LED candle or lights inside, and add simple finishing details like twine or a handle. This project uses basic supplies and works well for beginners.
You will learn which materials and tools work best, how to prep your jar for smooth results, and how to decorate it with clear, simple techniques. You will also see safe lighting options, easy assembly steps, and creative ideas that fit different holiday themes.
With the right steps, you can create a custom lantern that fits your space, your style, and your budget.
Essential Materials and Tools for DIY Lantern Jars
You need sturdy jars, safe lighting, and simple decorating supplies to build holiday lanterns that look clean and last through the season. When you choose the right materials from the start, you avoid safety issues and uneven results.
Types of Jars to Use
Start with thick glass jars that can handle light and minor heat. Mason jars remain the most reliable choice because they use durable glass and come in standard sizes. Many people use them for classic mason jar lanterns during holidays.
Choose between regular-mouth and wide-mouth jars based on your design. Wide-mouth jars make it easier to place battery-operated fairy lights, candles, greenery, or small ornaments inside. Pint and quart sizes work well for table displays, while smaller jars suit window sills or grouped centerpieces.
You can also reuse food jars if the glass is thick and free from cracks. Remove labels fully and wash the jar with warm, soapy water to clear residue. Avoid thin glass jars that may break easily, especially if you plan to move or hang your jar lanterns.
If you want step-by-step inspiration, review this practical guide on how to make mason jar lanterns to see how jar size affects the final look.
Choosing Safe Light Sources
Your light source determines both safety and appearance. For indoor holiday lanterns, use battery-operated fairy lights or LED tealights. They stay cool and reduce fire risk.
Battery-operated fairy lights spread small points of light through the jar. They work well for winter or Christmas themes because they create a steady glow without flicker. Choose warm white for a soft look or cool white for a crisp winter feel.
Avoid real candles if you plan to hang the lantern or place it near fabric, curtains, or greenery. If you use real tealights, never leave them unattended and make sure the jar sits on a stable, flat surface.
For backyard or patio displays, you can review ideas from this guide on making lanterns with jars for backyard lighting to see how outdoor setups handle lighting safely.
Selecting Decorating Supplies
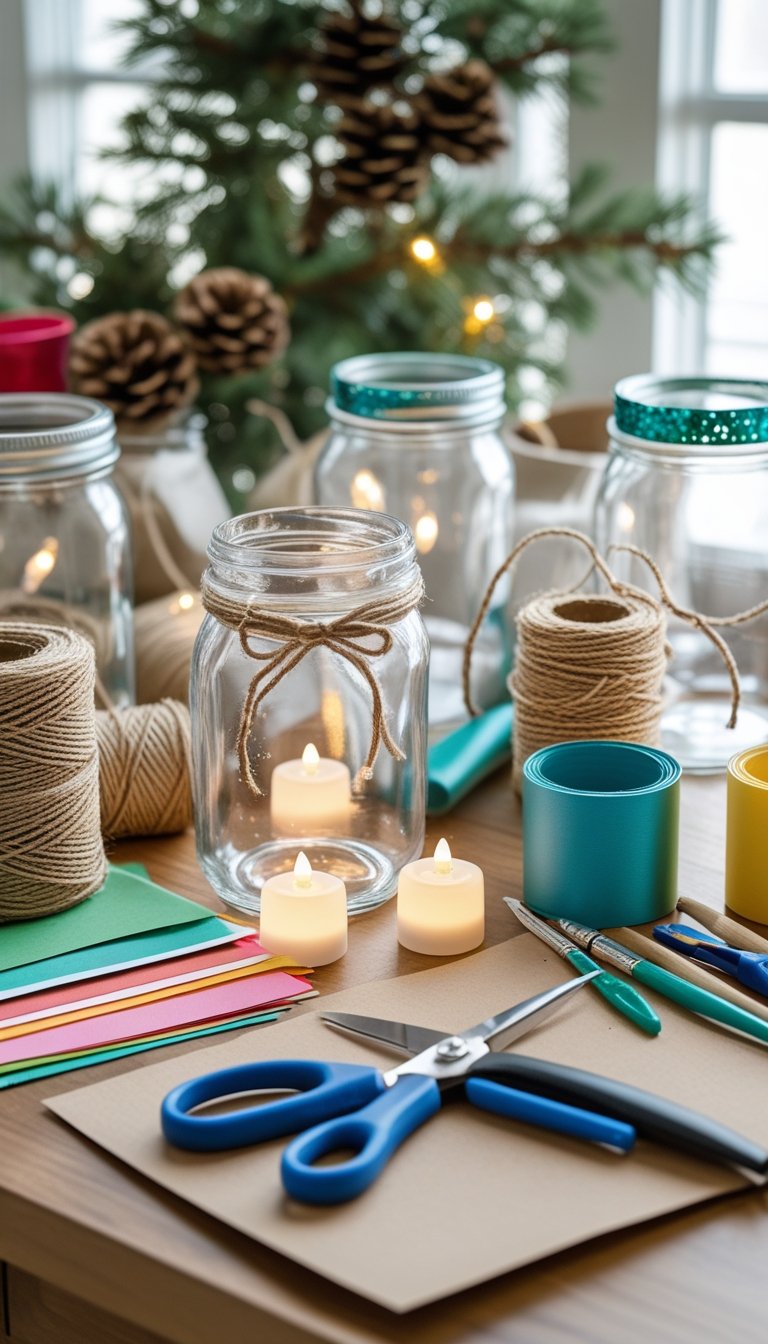
Choose decorating supplies that attach securely to glass. Start with basic items:
- Twine or ribbon for wrapping the jar neck
- Acrylic or glass paint for frosted effects
- Glitter glue or Mod Podge for light texture
- Faux greenery, pinecones, or small ornaments
Use strong craft glue or a hot glue gun to secure decorations. Apply glue in small amounts so it does not drip down the glass.
If you plan to hang your lanterns, use sturdy wire to form handles. Cut and shape wire with wire cutters, then wrap it tightly around the jar’s neck. Make sure the handle feels balanced before lifting.
For additional design ideas, you can explore this tutorial on DIY mason jar lantern projects, which shows simple decoration methods that work well for holidays.
Preparing and Cleaning Your Jar for Crafting
Clean glass helps paint stick, keeps lights bright, and prevents peeling later. You need to remove labels, wash away oils, and prepare the surface so your design lasts through the holiday season.
Removing Labels and Residue
Start by emptying and rinsing your mason jars with warm water. This removes loose debris and softens the paper label.
Soak the jar in a bowl of hot, soapy water for 15 to 30 minutes. Wide-mouth jars are easier to handle during this step because you can grip them firmly without slipping.
After soaking, peel off the label. If paper sticks, scrape it gently with a plastic scraper or the edge of a credit card.
Adhesive residue often remains. Use one of these methods to remove it:
- Rubbing alcohol on a cotton pad
- White vinegar applied for 5–10 minutes
- Baking soda mixed with cooking oil to form a paste
Rub the area in small circles until the glass feels smooth. Rinse again to remove any cleaner left behind.
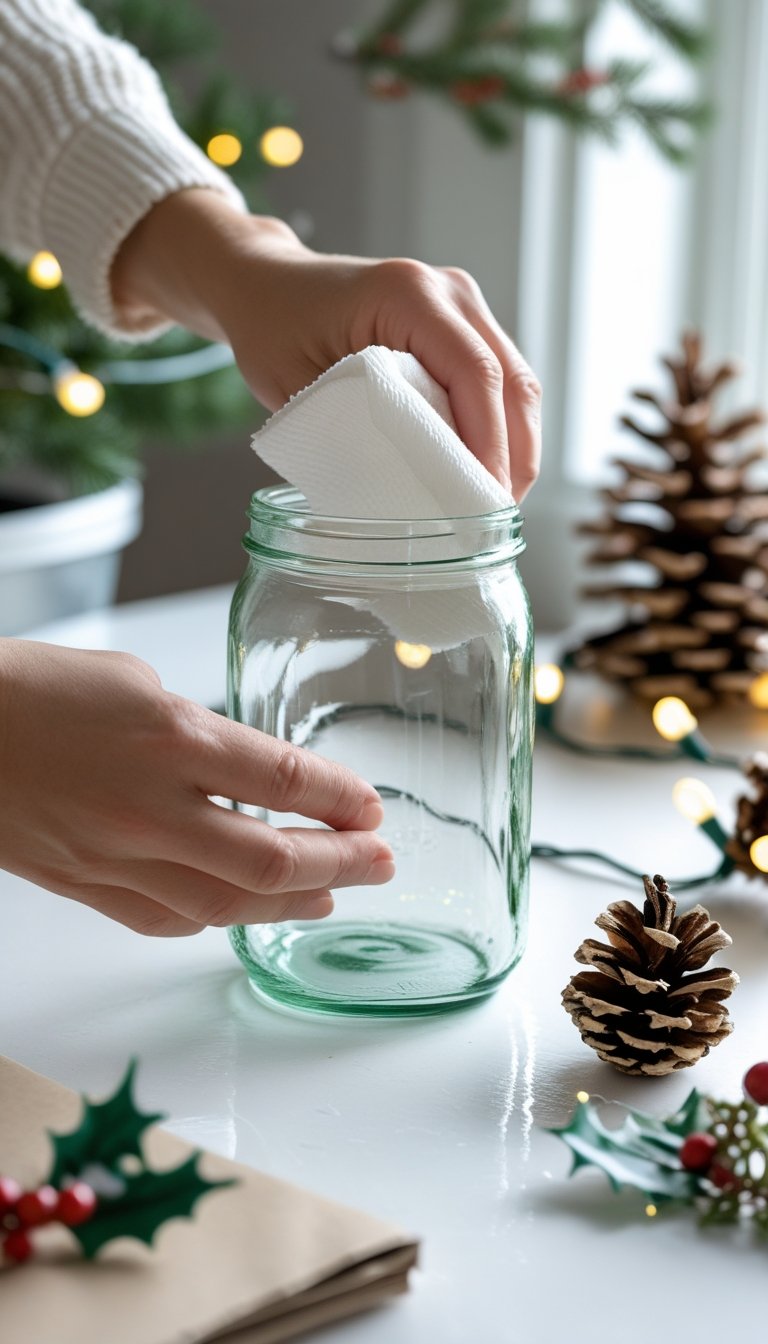
Tips for Cleaning and Drying
Wash the jar with warm water and dish soap after removing the label. Focus on the inside rim and threads where dust and grease collect.
If you plan to place LED lights or candles inside, make sure the interior is spotless. Dirt can block light and affect the final look.
Rinse the jar well so no soap film remains. Soap residue can prevent paint or glue from sticking.
Dry the jar with a lint-free towel. Then let it air dry upside down for at least one hour.
Follow this quick checklist before moving on:
| Checkpoint | What to Look For |
|---|---|
| Glass surface | No streaks or smudges |
| Rim and threads | No trapped moisture |
| Inside base | No dust or towel fibers |
Never rush this step. Even small water droplets can cause paint to bubble.
Prepping the Surface for Paint or Decoupage
Decide whether you will paint the outside, inside, or add decoupage. Most holiday lantern jars look best when you decorate the outside surface.
Lightly wipe the jar with rubbing alcohol to remove oils from your hands. This improves paint grip.
If you use acrylic paint, apply thin layers. Thick coats drip and dry unevenly.
For decoupage, lightly scuff the glass with very fine sandpaper. This creates slight texture so glue bonds better. Wipe away dust with a dry cloth before adding adhesive.
Wide-mouth jars give you more space to work when placing stencils or holiday cutouts. Make sure the surface feels dry and smooth before you begin decorating.
Creative Decorating Techniques for Holiday Lantern Jars
You can change a plain jar into a holiday lantern with simple surface treatments and textured details. Paint, paper layers, and natural accents help you control color, light, and style without complex tools.
Glass Paint and Spray Paint Effects
You can use glass paint to tint the jar while still letting light shine through. Choose translucent paint if you want a soft glow, or opaque paint if you prefer bold color blocks.
Apply thin coats with a foam brush. Thick layers drip and block too much light. Let each coat dry fully before adding another.
For faster coverage, use spray paint made for glass. Spray in short bursts from about 8–12 inches away. Rotate the jar as you spray to avoid uneven spots.
You can also:
- Tape off stripes or shapes for clean lines
- Use frosted spray paint for a winter look
- Lightly sand raised designs after drying for a worn effect
Work in a ventilated area and protect your surface with paper or plastic.
Using Decoupage and Tissue Paper
Decoupage lets you attach paper designs directly to the jar. You brush a thin layer of decoupage glue onto the glass, press the paper in place, then seal it with another coat.
Use holiday napkins, printed paper, or cut-out shapes. Smooth out air bubbles with a soft brush or your fingers.
Tissue paper works well for a stained-glass effect. Tear it into small pieces and overlap them slightly. This method softens the light and hides brush marks.
Follow these steps:
- Apply glue to a small section of the jar.
- Place tissue paper on top.
- Brush another thin glue layer over it.
Let the jar dry fully before placing a candle or LED light inside.
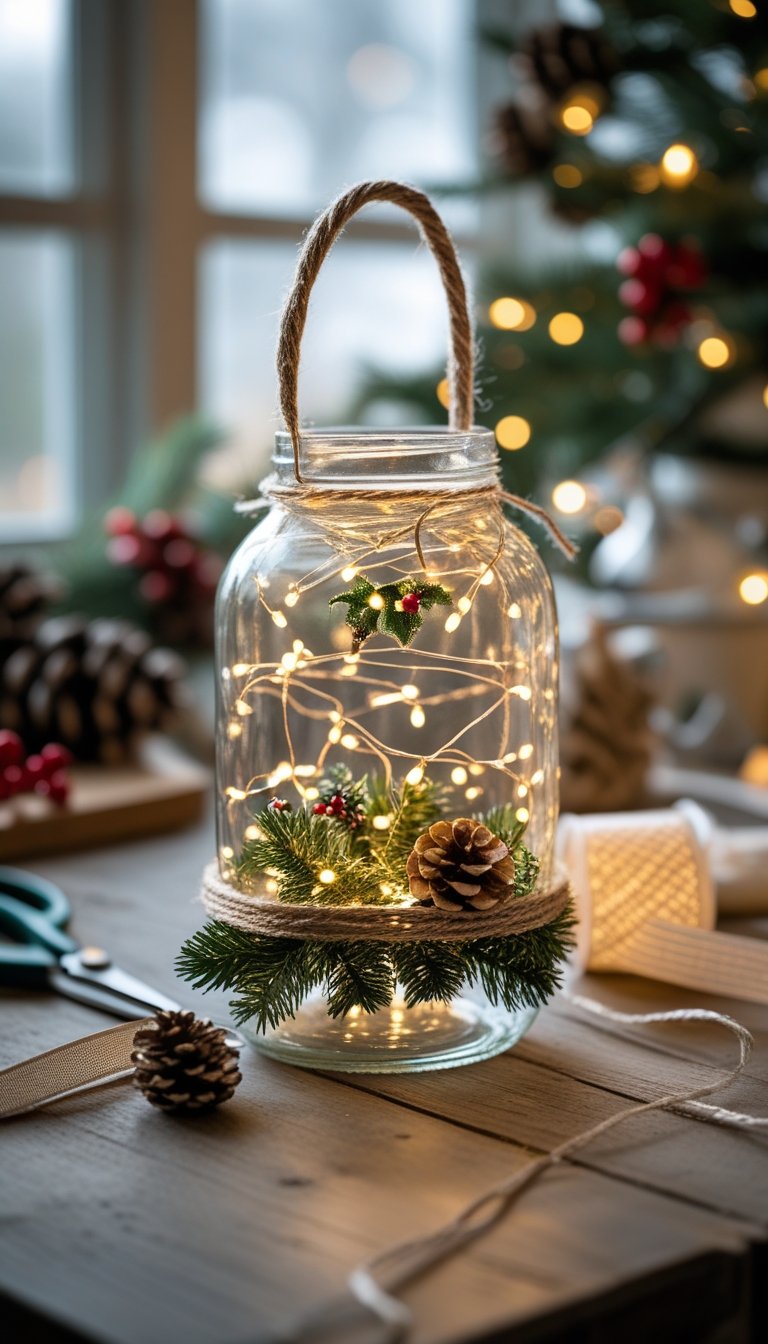
Incorporating Twine, Pebbles, or Natural Elements
Wrap twine around the jar neck to create a simple handle or rustic border. Secure it with a small knot or a drop of hot glue.
You can braid three strands of twine for a thicker look. This works well for hanging lanterns outdoors.
Add pebbles inside the jar to stabilize a candle. Spread a thin layer across the bottom before placing the light on top. Pebbles also reflect light and add texture.
Natural elements give your lantern a seasonal feel. Try:
- Small pinecones glued to the outside
- Dried orange slices tied with twine
- Evergreen sprigs tucked under the rim
Keep decorations away from open flames. Use LED candles if you add dry materials inside or near the jar.
Lighting Options and Assembly Steps
You need steady light, a stable base, and a safe setup to make your holiday lantern jar work well. Focus on secure wiring, balanced weight, and low-heat lighting.
Installing Battery-Operated Fairy Lights
Use battery-operated fairy lights instead of plug-in strands. They remove the need for cords and lower the risk of heat buildup inside the jar.
Choose a short strand with a small battery pack. Many strands include a timer, which turns the lights on and off at the same time each day. You can find simple step guides for jar setups in projects like Mason Jar Christmas Lanterns.
Place the battery pack at the back of the jar or tape it under the lid with strong double-sided tape. Coil the wire loosely so the lights spread out instead of clumping in one spot.
Avoid pulling the wire tight. Leave slight slack so you can adjust the lights later without removing everything.
Adding Pebbles or Bases for Stability
Add pebbles to the bottom of the jar to keep it steady and upright. This step matters most if you plan to place the lantern on a porch or windowsill.
Pour a 1–2 inch layer of clean pebbles into the base. Spread them evenly so the jar does not tilt.
You can also use:
- Glass beads
- Sand
- Decorative stones
Press the fairy lights gently into the pebbles. This holds them in place and keeps the wires from shifting when you move the jar.
If you plan to add small decorations, such as pinecones or faux snow, place them on top of the pebbles after the lights are set.
Creating Safe Candle Alternatives
Avoid real candles inside a closed jar. Heat can build up and crack the glass.
Use LED tealights or flameless candles instead. They give a soft glow without flame or smoke. Many styles flicker to look like real candles.
Place the LED candle directly on top of the pebble base. Make sure it sits flat and does not wobble.
For more decorative ideas that use safe lighting and layered details, review examples from DIY Christmas lantern decorating ideas that combine lights, greenery, and battery-powered elements.
Test your light before sealing the jar. Turn it on, close the lid, and check that the glow spreads evenly through the glass.
Finishing Touches: Handles, Embellishments, and Hanging Methods
Small details change a plain jar into a finished lantern. You need strong handles, secure decorations, and safe hanging points to make your lantern both useful and stable.
Attaching Wire Handles or Hangers
A sturdy handle lets you hang or carry your lantern with ease. Use 16- to 18-gauge craft wire for good strength without making it hard to bend.
Cut a piece of wire about 12 to 16 inches long using wire cutters. Wrap each end tightly under the jar’s lid lip. Twist the ends together and press them flat so they do not snag your hand.
For extra grip, use pliers to tighten the wire around the neck of the jar. Make sure the handle feels balanced before adding candles or LED lights.
If you use ideas from a DIY hanging lantern guide using mason jars, always triple-check that knots or twists sit firmly under the lid edge. The handle should not slide when you lift the jar.
Test the handle by lifting the empty jar first. Then test it again after you add lights.
Securing Decorations with Twine or Ribbon
Decorations should sit tight against the jar so they do not fall or shift. Wrap twine around the jar neck two or three times for a clean base layer.
Tie a square knot and pull it snug. Trim excess twine with scissors, but leave a small tail if you want a rustic look.
You can layer ribbon over twine for more color. Secure ribbon with a small dot of hot glue on the back side, away from heat.
If you add greenery or small ornaments, hold them in place with twine first. Then tighten the wrap until the item does not move. Avoid placing decorations near open flames.
Keep designs simple. A tight wrap and clean knot look better than loose layers.
Displaying Lanterns Indoors and Outdoors
Choose safe and stable locations for display. Indoors, place lanterns on flat tables, mantels, or shelves away from curtains.
If you hang them, use wall hooks rated for the jar’s weight. Hang at different heights for visual interest, but keep them within reach so you can turn lights on and off easily.
Outdoors, hang lanterns from tree branches, porch beams, or shepherd hooks. Use strong wire or thick twine and double-knot each tie point.
If you want more hanging ideas, review a step-by-step homemade hanging lantern tutorial to see practical placement examples.
Avoid windy spots if you use real candles. For outdoor use, battery LED lights provide a safer option and reduce fire risk.
Creative Variations and Festive Design Ideas
You can change the look of your mason jar lanterns with simple materials and clear themes. Small design choices, like color, texture, and light type, shape the final result and help you match your holiday décor.
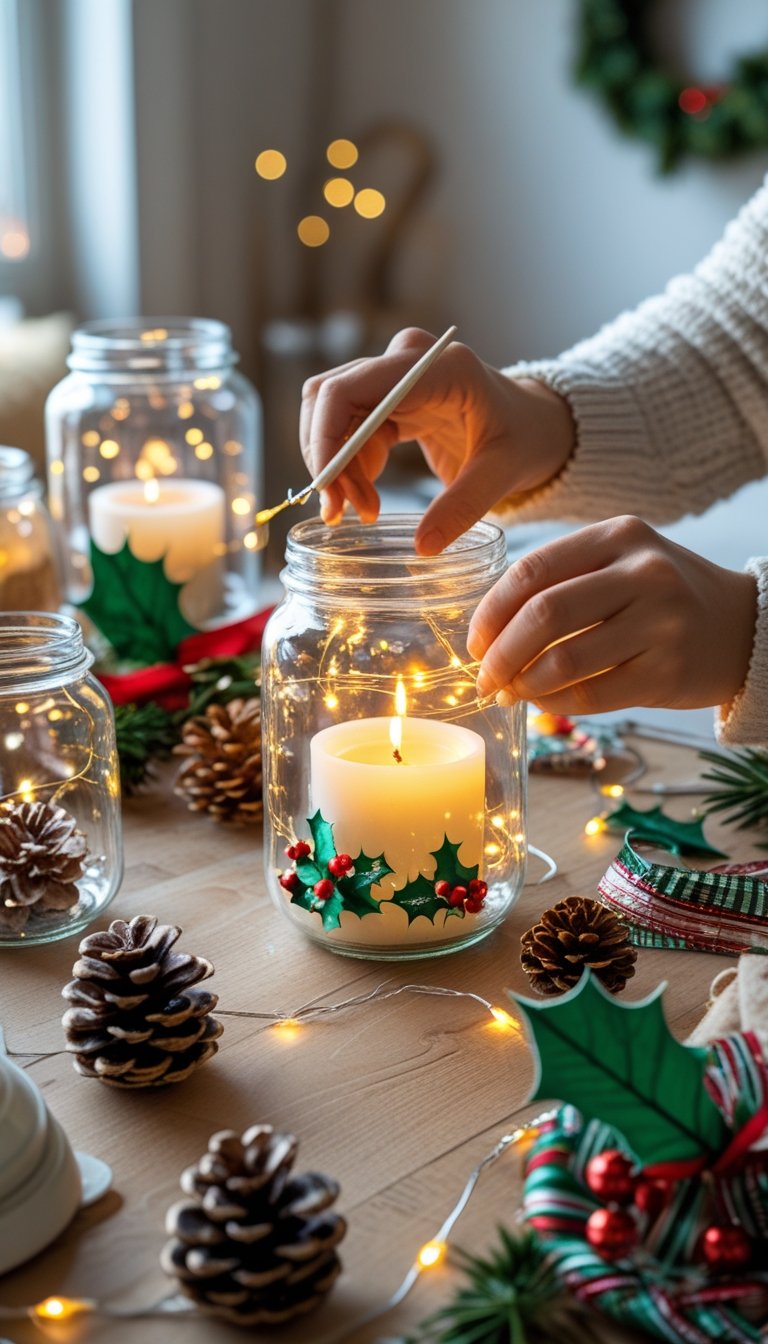
Themed Holiday Lantern Inspirations
You can design jar lanterns around a specific holiday to keep your décor consistent. Start with color. For Christmas, use red tissue paper, green ribbon, and small pine branches under the lid.
For Halloween, glue orange and black paper in bold shapes. Add cutout bats or simple jack-o’-lantern faces. Place a battery tea light inside for a steady glow.
For winter décor, choose white tissue paper and silver glitter. Wrap twine around the neck and hang a small snowflake charm. If you want more ideas, review these DIY Christmas lantern ideas to see how ribbon, greenery, and berries change the look.
You can also try:
- Fruit themes for summer parties
- Reindeer faces for kid-friendly holiday displays
- Farmhouse styles with burlap and neutral tones
Each theme works well with simple mason jar lanterns and basic craft supplies.
Recycled Jar and Eco-Friendly Styles
You do not need new jars. Clean jam jars, sauce jars, or pickle jars work well for jar lanterns.
Remove labels with warm water and soap. Dry the glass fully before adding glue or tissue paper. This step prevents bubbles and peeling.
Use scrap tissue paper, old gift wrap, or fabric pieces. You can even tear pages from outdated magazines for a layered look. Many crafters turn everyday jars into glowing décor, such as these tissue paper mason jar lanterns.
Choose LED lights instead of real candles. LEDs lower fire risk and last longer. They also make your mason jar lanterns safer for indoor use.
Tie jute string or cotton twine around the rim instead of plastic ribbon. Small changes like this support an eco-friendly style without raising cost.
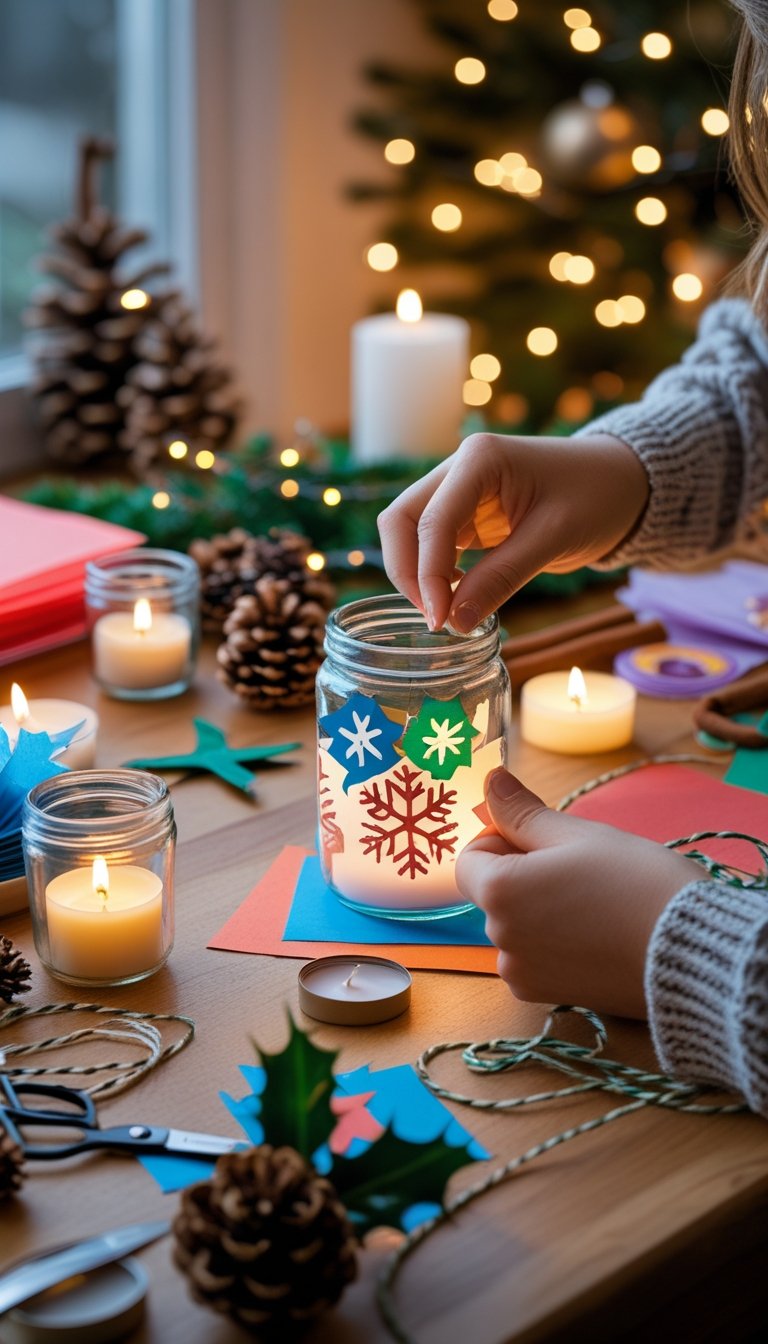
Ideas for Kids and Family Crafting
You can turn mason jar lanterns into an easy family craft night. Set up a table with jars, glue, tissue paper squares, and brushes.
Let kids layer colors freely. This creates a stained-glass effect when the light turns on. Avoid sharp tools and use battery tea lights only.
Try these simple kid-friendly designs:
- Handprint art pressed onto the jar
- Sticker scenes with stars or trees
- Pre-cut shapes glued in clear patterns
Many parents enjoy making holiday décor together, like these DIY Christmas lanterns made from mason jars. When you guide the process and keep supplies simple, your jar lanterns become both decorations and shared memories.