
How to Make DIY Halloween Props for Haunted House: Complete Guide
You can turn your home into a haunted house with simple tools, low-cost materials, and a clear plan. To make DIY Halloween props for a haunted house, you build simple figures, creatures, and effects using items like cardboard, trash bags, foam, paint, and basic lighting to create a spooky scene. You do not need special skills. You just need time, effort, and a few smart ideas.
When you plan your layout and gather the right supplies, you control how scary or fun the space feels. You can create ghosts, zombies, tombstones, and creepy body parts using common items from your garage or local store. With the right setup, even basic props look convincing.
As you move forward, you will see how to choose the right tools, map out your space, and build popular props that stand out. You will also learn how to add larger creatures, yard decor, and simple special effects that make your haunted house feel complete.
Essential Tools and Materials
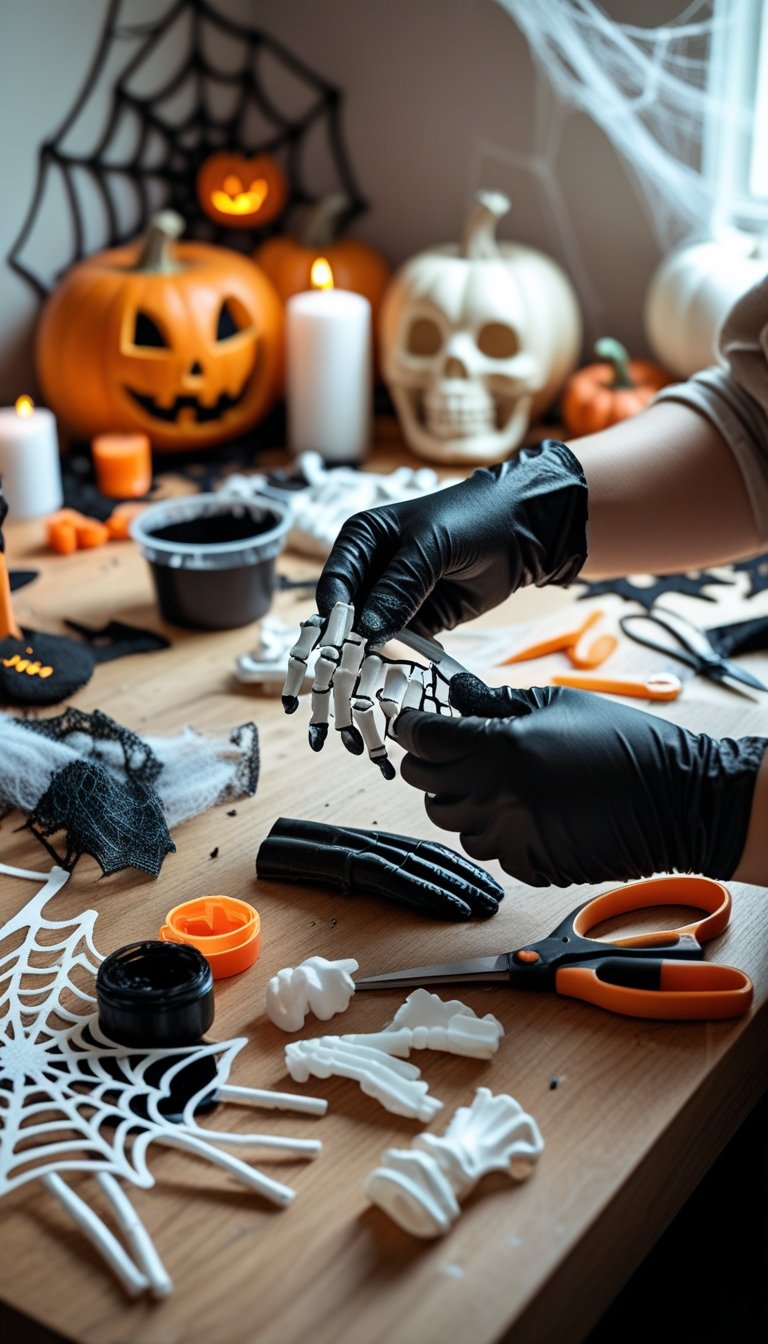
You need the right tools and materials to build strong, realistic DIY Halloween props. Focus on simple hand tools, low-cost supplies, and safe building habits so your haunted house decorations look good and last all season.
Basic Craft Tools for Halloween Props
Start with basic hand tools that give you control and clean cuts. Keep these on hand:
- Sharp utility knife or precision craft knife
- Extra blades
- Hot glue gun and glue sticks
- Heavy-duty scissors
- Measuring tape and metal ruler
- Paint brushes in small and medium sizes
A utility knife works well for foam, cardboard, and thin wood. Many builders use precision knives for detailed cuts, like letters on tombstones, as shown in this guide to DIY haunted house props with precision tools.
Use a hot glue gun for fast assembly. It bonds foam, fabric, and plastic parts in seconds. For stronger builds, add a drill and basic screws to your setup.
Keep your tools sharp and clean. Dull blades tear foam and slow you down.
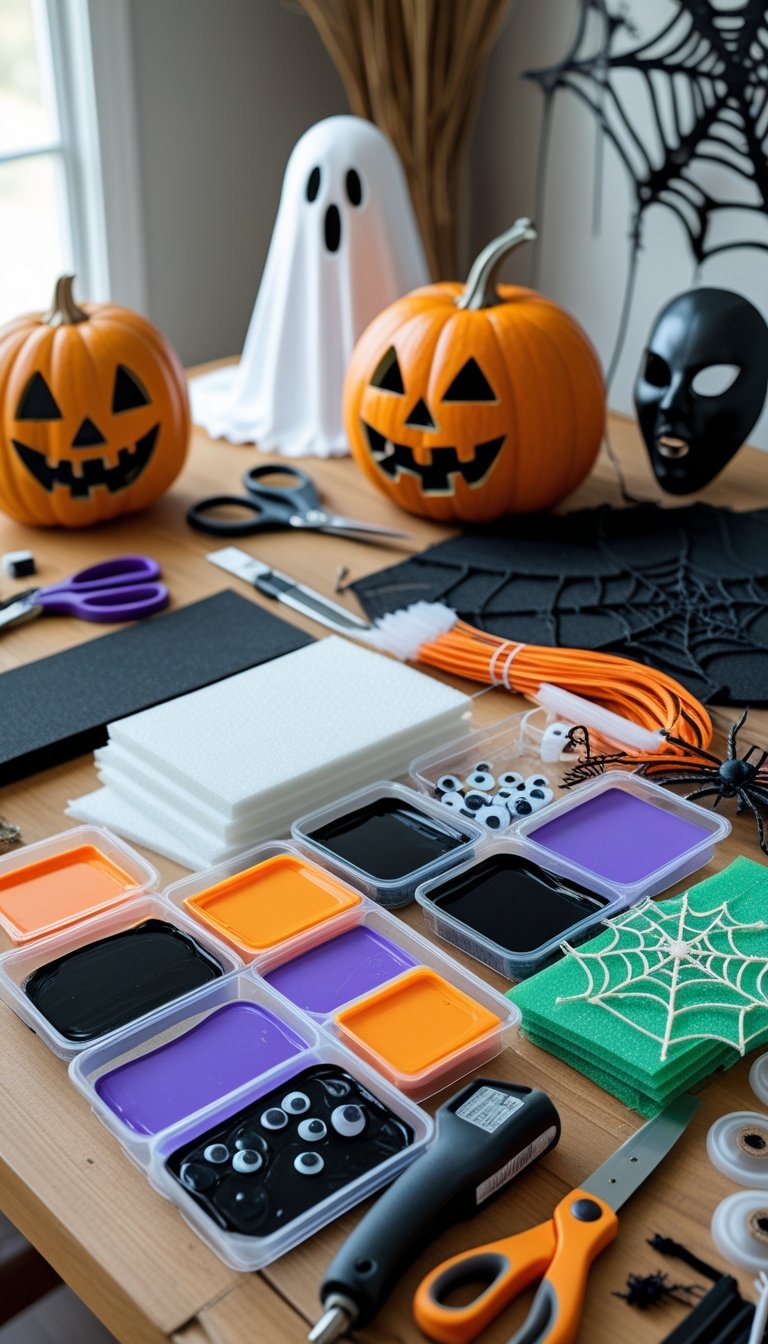
Recommended Materials for Prop Construction
Choose materials that are cheap, light, and easy to shape. Many common DIY Halloween props use items you already have at home.
Popular materials include:
- Cardboard boxes
- Styrofoam sheets or foam boards
- PVC pipe for frames
- Pool noodles for creature legs
- Old sheets or cheesecloth for ghosts
- Acrylic and spray paint
- Plastic jars and bottles
Cardboard and foam work well for tombstones and walls. Foam sheets cut easily and stay lightweight, which helps when you move props around your yard.
PVC pipe creates strong skeleton frames and creature bodies. Many simple builds use household items, as shown in these easy DIY Halloween props you can make at home.
Use flat black, gray, and brown paint to age surfaces. Add dry brushing to create cracks and texture on your Halloween decorations.
Safety Tips When Making Haunted House Props
You work with sharp tools, hot glue, and paint fumes. Follow basic safety steps every time.
Wear cut-resistant gloves when using knives. Cut away from your body and use a stable table. Replace blades often to avoid slipping.
Use spray paint outside or in a well-ventilated space. Wear a simple mask when sanding foam or wood. Fine dust can irritate your lungs.
Keep cords from glue guns and power tools out of walkways. If children help with DIY Halloween props, assign safe tasks like painting or stuffing fabric.
Finally, check all ops for stability before display. Secure large props with stakes or sandbags so wind does not tip them over.
Planning Your DIY Haunted House
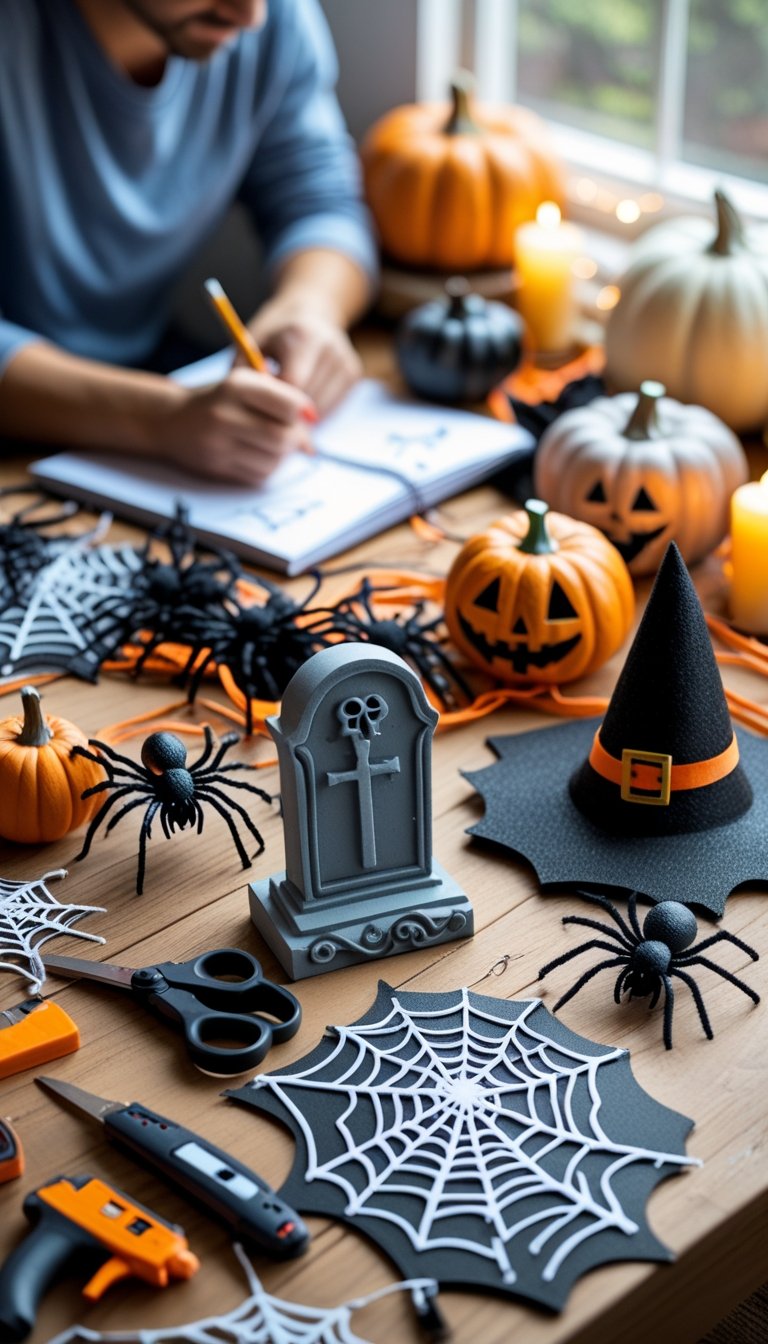
Start with a clear plan before you build props or buy supplies. Decide what guests will see first, where they will walk, and how each prop supports your theme and budget.
Theme Selection and Prop Placement
Choose one strong theme for your DIY haunted house. A graveyard, abandoned hospital, or haunted attic works better than mixing random ideas.
Write your theme at the top of a page. Under it, list 5–7 props that fit the setting, such as tombstones, ghost figures, or creepy portraits.
Sketch a simple floor plan of your yard or rooms. Mark the path guests will follow. Place large props like spooky trees or hanging cages at key spots such as corners and entry points.
Use lighting to guide attention. For example:
- Put flickering candles along walkways.
- Hide monster eyes in dark bushes.
- Shine a flashlight behind cut paper shapes for scary silhouettes.
For more layout ideas, review this practical guide on how to make a haunted house. Keep walkways clear and wide enough for safe movement.
Budgeting for DIY Halloween Props
Set a firm budget before you buy materials for your DIY Halloween project. Write down a total amount, then divide it into categories:
| Category | Examples |
|---|---|
| Base Materials | foam, paint, hot glue |
| Lighting | LED lights, battery candles |
| Fabric & Details | cloth, fake blood, frames |
Reuse items you already own. Old sheets can become ghost figures. Laundry baskets can turn into hanging cages. Cardboard boxes can become tombstones.
Focus your spending on high‑impact props. Large spiders, severed heads, or haunted mirrors draw attention and make small spaces feel full.
If you need low-cost ideas, browse these budget-friendly DIY haunted house props. Choose projects that match your skills and tools. This keeps costs low and prevents wasted materials.
Popular DIY Halloween Prop Ideas
You can build strong visual impact with simple materials like wire, fabric, and rope. Large ghost figures and oversized spiders fill empty space and turn a basic yard or hallway into a haunted scene.
Cheesecloth and Chicken Wire Ghosts
You can shape a chicken wire ghost into almost any pose. Bend the wire to form a head, arms, and torso. Keep the base wide so the figure stands on its own or attaches to a stake.
Wear gloves when cutting and shaping wire. Sharp edges can scratch skin.
Drape wet cheesecloth over the frame to create a flowing body. Let it dry so it stiffens and holds shape. This step gives your cheesecloth ghost a hollow, floating look.
For a hanging version, attach fishing line to the top of the frame. Many builders use tutorials like these DIY Halloween props ideas to guide the process.
Add small LED lights inside the head for a dim glow. Avoid hot bulbs since fabric can burn. Place several chicken wire ghosts at different heights to create depth in your haunted house.
Giant Spider and Web Creations
A giant spider draws attention from across the yard. You can build the body from black trash bags stuffed with paper or foam. Use PVC pipe or flexible tubing for legs.
Bend each leg at sharp angles to make the spider look active. Secure the legs to the body with strong tape or zip ties.
Stretch thick rope, white cord, or synthetic webbing across trees, railings, or walls to form a giant spider web. Anchor each line tightly so it does not sag. Layer thinner strands in random patterns to make the web look used.
Many builders feature large spiders in collections like these 65 best DIY Halloween props for yard displays.
Place a wrapped “victim” prop in the web to add context. Keep walkways clear so guests do not trip on web lines.
Monsters and Creepy Creatures
You can build large, high-impact creatures with common hardware store items and basic craft supplies. Focus on strong frames, textured surfaces, and smart lighting to make each monster stand out in your haunted house.
Making a Giant Tentacle Monster
A giant tentacle monster works best when you scale it to your space. Start with flexible tubing, pool noodles, or foam pipe insulation for each tentacle.
Insert thick wire or PVC inside to help you bend and pose them. Secure the base to plywood so the structure does not tip.
Cover the tentacles with expanding foam or layered paper mache. Once dry, carve shallow grooves and suction cup shapes with a utility knife.
Paint in layers:
- Dark base coat (black or deep green)
- Mid-tone dry brushing
- Lighter highlights on raised areas
Add gloss sealer to give the tentacle monster a wet look. Place it so the tentacles wrap around door frames or railings to make it feel like it is breaking into the room.
DIY Monster Plant Props
A monster plant prop should look like it can snap shut at any moment. Use a large foam ball or paper lantern as the head.
Cut it in half to form an open mouth. Line the inside with red fabric or painted foam.
For teeth, cut triangles from white craft foam or plastic sheets. Glue them along the edges in uneven sizes to avoid a fake look.
Build the stem with PVC pipe or a wooden dowel wrapped in foam. Cover it with green fabric or latex-coated cloth for texture.
Use lighting to increase the effect. Many crafters adapt ideas from guides like 12 easy DIY Halloween props you can make at home and add hidden LED lights inside the mouth to create a glowing monster plant display.
Place several plants at different heights to create depth.
Creating Monster Mud Reaper Figures
A monster mud reaper looks best when it appears to rise from the ground. Start with a basic scarecrow frame made from wood stakes or PVC.
Wrap the frame in chicken wire to shape the torso and arms. Keep the pose slightly hunched.
Mix joint compound with brown and black paint to create a mud texture. Spread it unevenly over fabric strips draped across the frame.
Focus on these details:
| Feature | How to Build It |
|---|---|
| Face | Use a skull mask or sculpt from foam |
| Hands | Attach plastic skeleton hands |
| Base | Cover with mulch or dirt for realism |
Set the monster mud reaper in dim light with a low fog machine. Position it near a graveyard scene so it blends with tombstones and looks like it just clawed its way out.
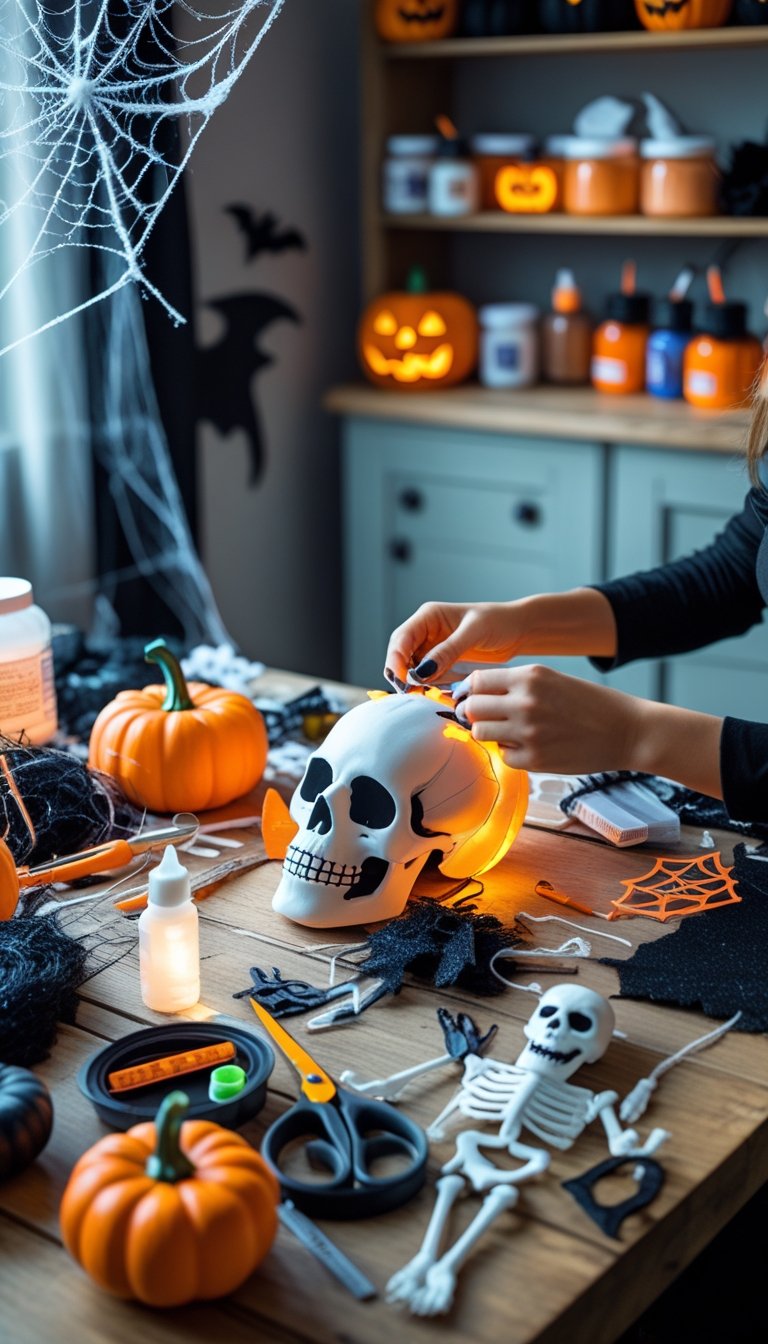
Body Parts and Gruesome Effects
Create fake skulls, severed limbs, and heads in jars with low-cost items and simple paint. Focus on lighting, texture, and placement to make each piece look convincing at night.
Milk Jug Skulls and Heads in Jars
You can turn empty plastic jugs into milk jug skulls with a marker and a craft knife. Draw large eye sockets and a nose hole on the flat side. Cut them out, then place a battery tea light inside.
Keep the cuts uneven. Perfect shapes look fake. Slight cracks and rough edges make the skull look worn.
To make a head in a jar, print a photo of a face and tape it inside a large glass jar. Fill the jar with water and add a few drops of food coloring. Green or yellow works well.
You can also slide a small plastic skull into the jar instead of using a photo. For more ideas, review this guide to guts and gore Halloween props and adapt the steps to fit your space.
Place jars at eye level on shelves. Use dim light from below to distort the face.
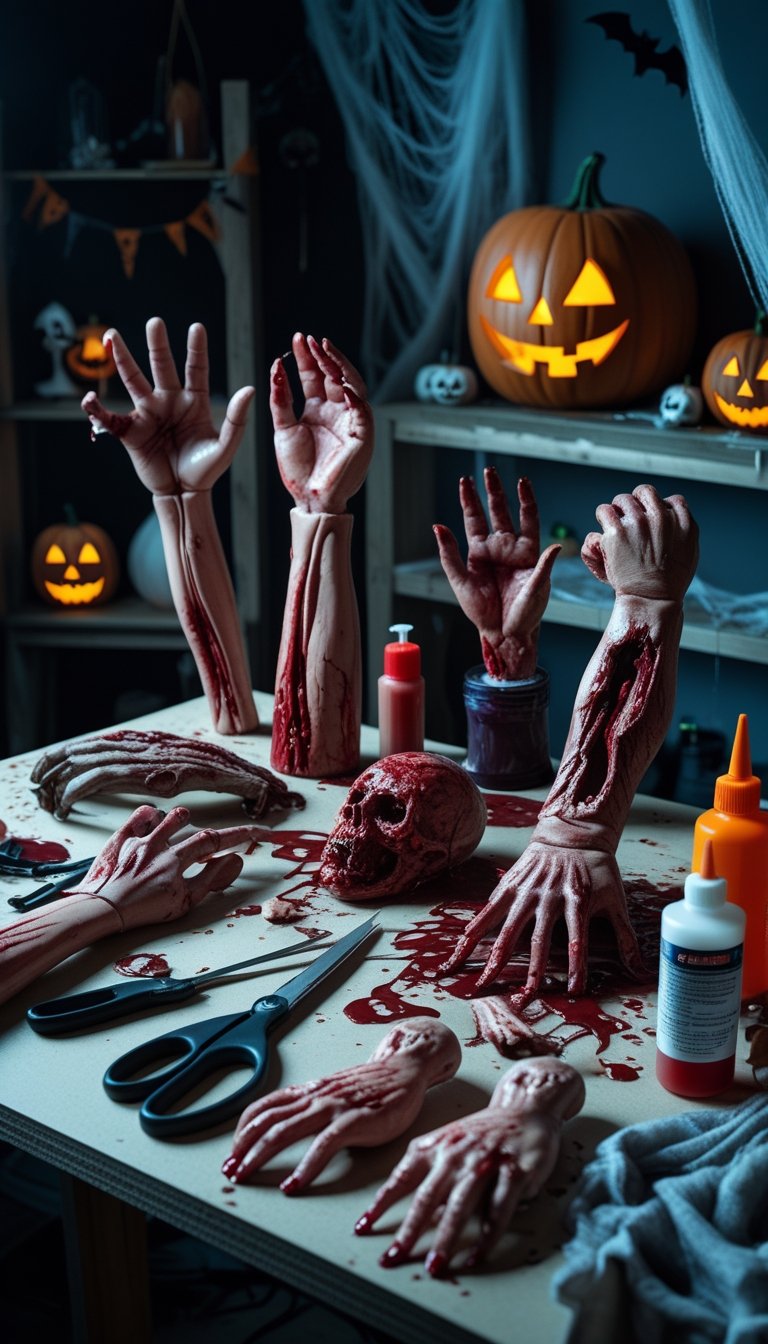
Severed Limbs: Mummy Hand and Zombie Dolls
A mummy hand works well on tables, shelves, or sticking out of the ground. Start with a cheap plastic hand or a rubber glove filled with expanding foam.
Wrap it in thin strips of gauze. Brush on watered-down brown and gray paint to create age and dirt. Let some areas stay darker than others.
For zombie dolls, buy old dolls from a thrift store. Remove an eye, scuff the face with sandpaper, and add dark paint around the cracks. A little goes a long way.
Study ideas from these gruesome DIY haunted house props to shape facial damage and torn clothing.
Use matte paint, not glossy paint. Shine reduces realism.
Heads in Jars Display Tips
A strong heads in jars display depends on setup, not just the prop. Use different jar sizes to create depth.
Follow these steps for better results:
- Add cloudy water with a drop of milk for a murky look.
- Use submersible LED lights under the jar for glow.
- Label jars with simple tags like “Specimen 03.”
- Group three to five jars instead of one alone.
Place jars on a stable shelf. Keep cords hidden.
If you want more display ideas, explore these homemade Halloween props and decorations and adjust the lighting and spacing to fit your haunted house path.
Space the jars about 6 inches apart. Crowding reduces the effect.
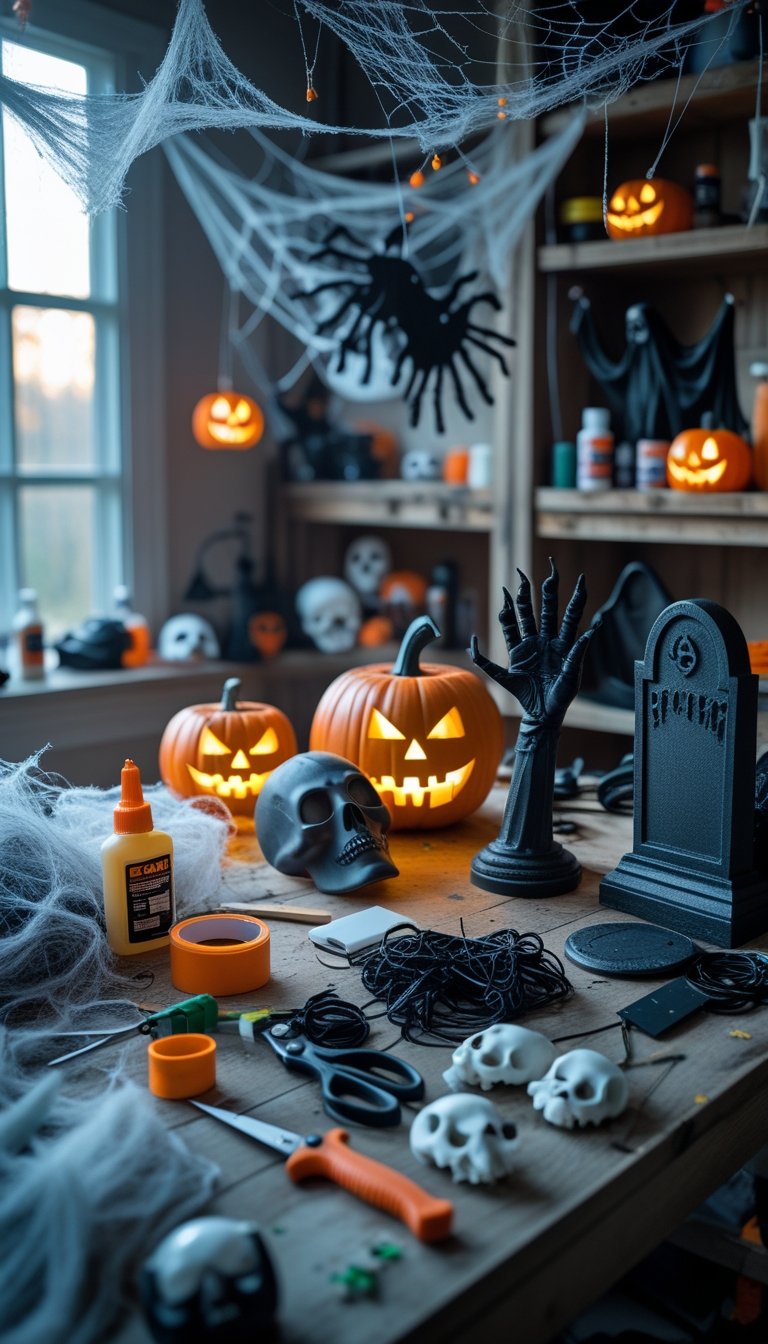
Tombstones and Haunted Yard Decor
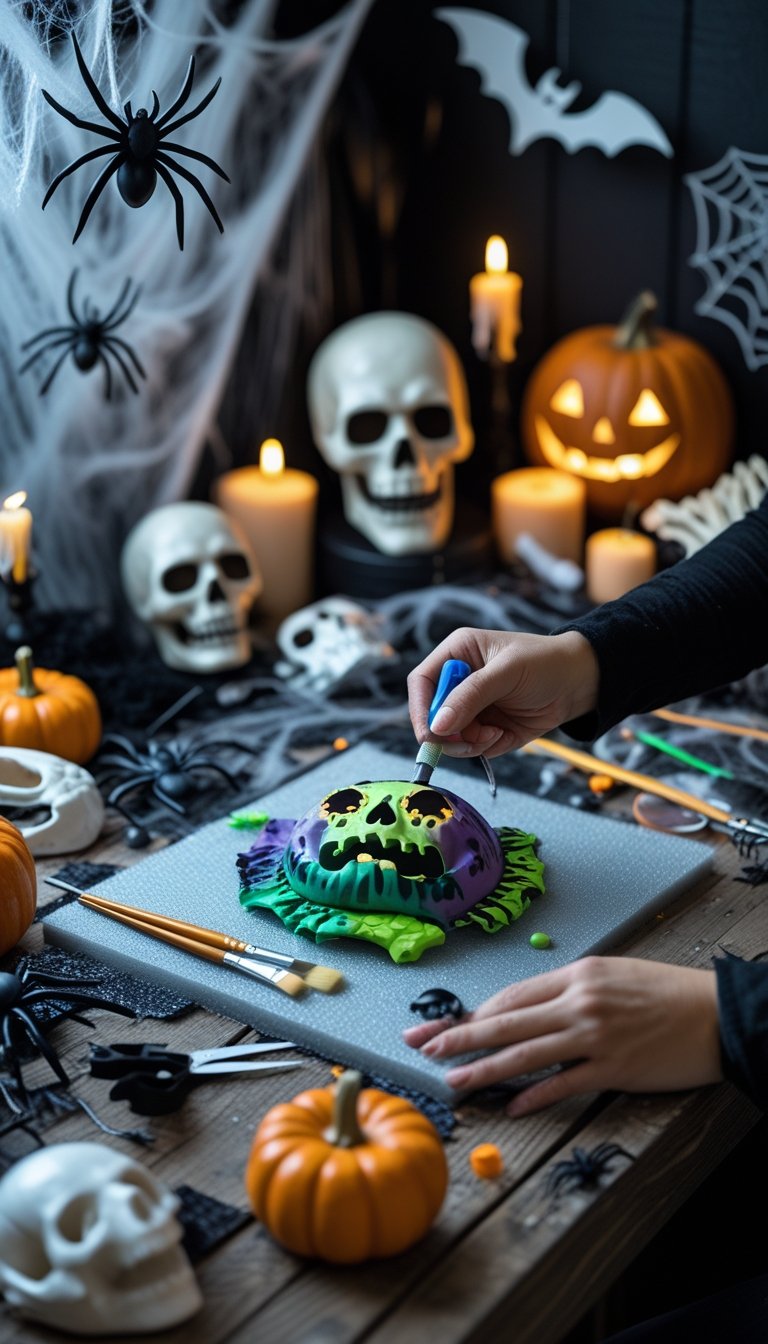
You can build realistic halloween tombstones with low-cost materials and basic tools. Strong layout and lighting turn simple pieces into convincing haunted house props.
Cardboard and Foam Tombstones
Start with thick cardboard or rigid foam insulation. Foam lasts longer outdoors, while cardboard works well for covered porches or indoor haunted house props.
Draw simple headstone shapes with a marker. Use rounded tops, crosses, or cracked edges for variety. Cut with a utility knife and sand the edges to remove sharp lines.
Add depth by gluing smaller foam pieces on top. Carve names and dates with a dull pencil or knife. If you want step-by-step guidance, review this tutorial on DIY realistic Halloween tombstones from foam.
Paint with a gray base coat. Then dab on black, brown, and green acrylic paint to create dirt and moss stains.
Quick material list:
- Foam board or cardboard
- Utility knife
- Sandpaper
- Acrylic paint (gray, black, green, brown)
- Hot glue or construction adhesive
Seal cardboard with exterior paint to protect it from moisture.
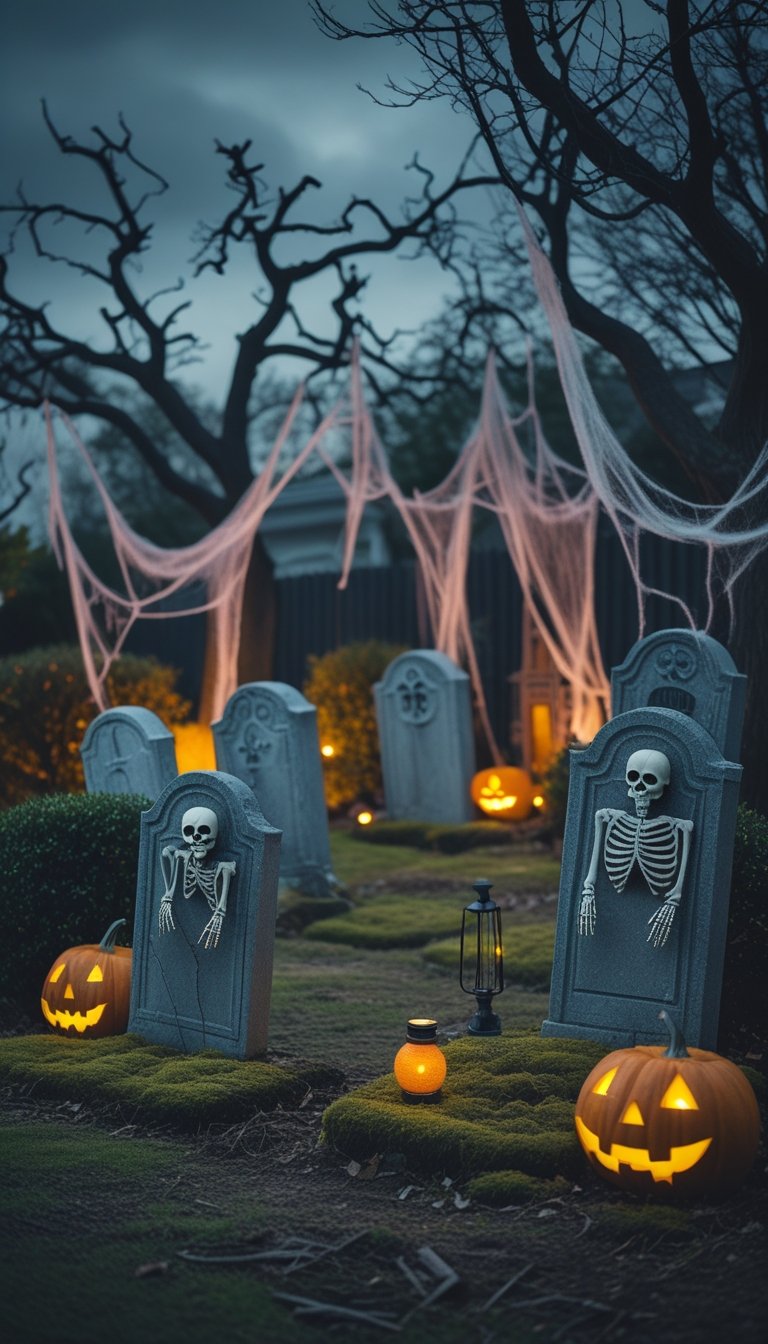
Setting Up Haunted Graveyard Scenes
Placement makes your diy haunted house props look believable. Do not line tombstones in straight rows. Stagger them at different angles and heights.
Push rebar or wooden stakes into the ground. Slide PVC pipe or a wood brace attached to the back of each tombstone over the stake. This keeps pieces upright in wind.
Add layers around the base:
- Plastic skeleton bones
- Fake moss
- Low fog from a fog machine
- Dim pathway lights
For more yard ideas, see these DIY Halloween graveyard ideas that show how to combine tombstones, lighting, and props.
Use soft white or green spotlights aimed upward. This creates shadows across the carved letters and cracks. Keep cords taped down and dry to prevent trips and electrical hazards.
Advanced Props and Finishing Touches
Strong haunted house prop ideas rely on movement, lighting, and small details. You can raise the fear factor by adding hanging pieces, glowing accents, and layered textures that look worn and aged.
Creepy Doll Mobiles and Hanging Cages
A creepy doll mobile adds motion above your guests’ heads. Use old dolls, fishing line, and an embroidery hoop or metal ring. Tie uneven lengths of line so the dolls hang at different heights.
Lightly sand the dolls’ faces and add black or dark gray paint around the eyes. Dab fake blood on cracks and joints. Keep colors muted so the dolls look old, not bright.
For a hanging cage, spray paint two plastic laundry baskets black and secure them together with zip ties or strong glue. Add plastic chains and hang the cage from a ceiling hook rated for the weight.
You can find more cage build ideas in these DIY haunted house props on a budget. Place a dim light inside the cage to create shadows on nearby walls.
Safety tips:
- Anchor all ceiling hooks into studs.
- Keep props clear of walk paths.
- Use LED lights to prevent heat buildup.
Crystal Ball Candlesticks and Bloody Votive Jars
Crystal ball candlesticks create a focal point on tables or shelves. Attach clear plastic ornaments or acrylic spheres to thrifted candlestick holders with epoxy. Spray the base matte black or aged bronze.
Insert a small LED light under or behind the ball. The light should glow, not flash. A steady low light looks more realistic and fits most haunted house prop ideas.
For bloody votive jars, use clear glass jars and battery tea lights. Drip red hot glue along the rim to mimic wax. Add thin layers of dark red paint on the inside of the glass for depth.
If you want more candle effects, review these flickering candle prop ideas and adapt the paint technique to jars. Keep the look uneven and imperfect.
Final Decoration Tips for Realistic Effects
Focus on texture and layering. Smooth surfaces look fake under bright light.
Use this quick guide:
| Effect | How to Create It |
|---|---|
| Dusty look | Lightly brush gray chalk paint, then wipe most of it off |
| Rust effect | Dab brown and orange paint with a sponge |
| Grime | Mix black paint with water and brush into corners |
Place lights low to the ground or behind props. Avoid bright overhead bulbs. Shadows make simple builds look complex.
Test your setup at night before opening. Walk the path as a guest would. Adjust spacing, sound, and lighting until each prop feels placed with purpose.


